All the information submitted on a Request for Authorization (RFAs) is displayed on the RFA Page. Use this page to easily see what information was sent, and most importantly, keep track of UR Decisions by treatment and even scheduling information!
Here’s how the RFA page lets you view and find information:
B. To view RFA History, click ‘RFA History’
C. To edit an RFA, click ‘Edit’
D. To delete an RFA, click ‘Delete’
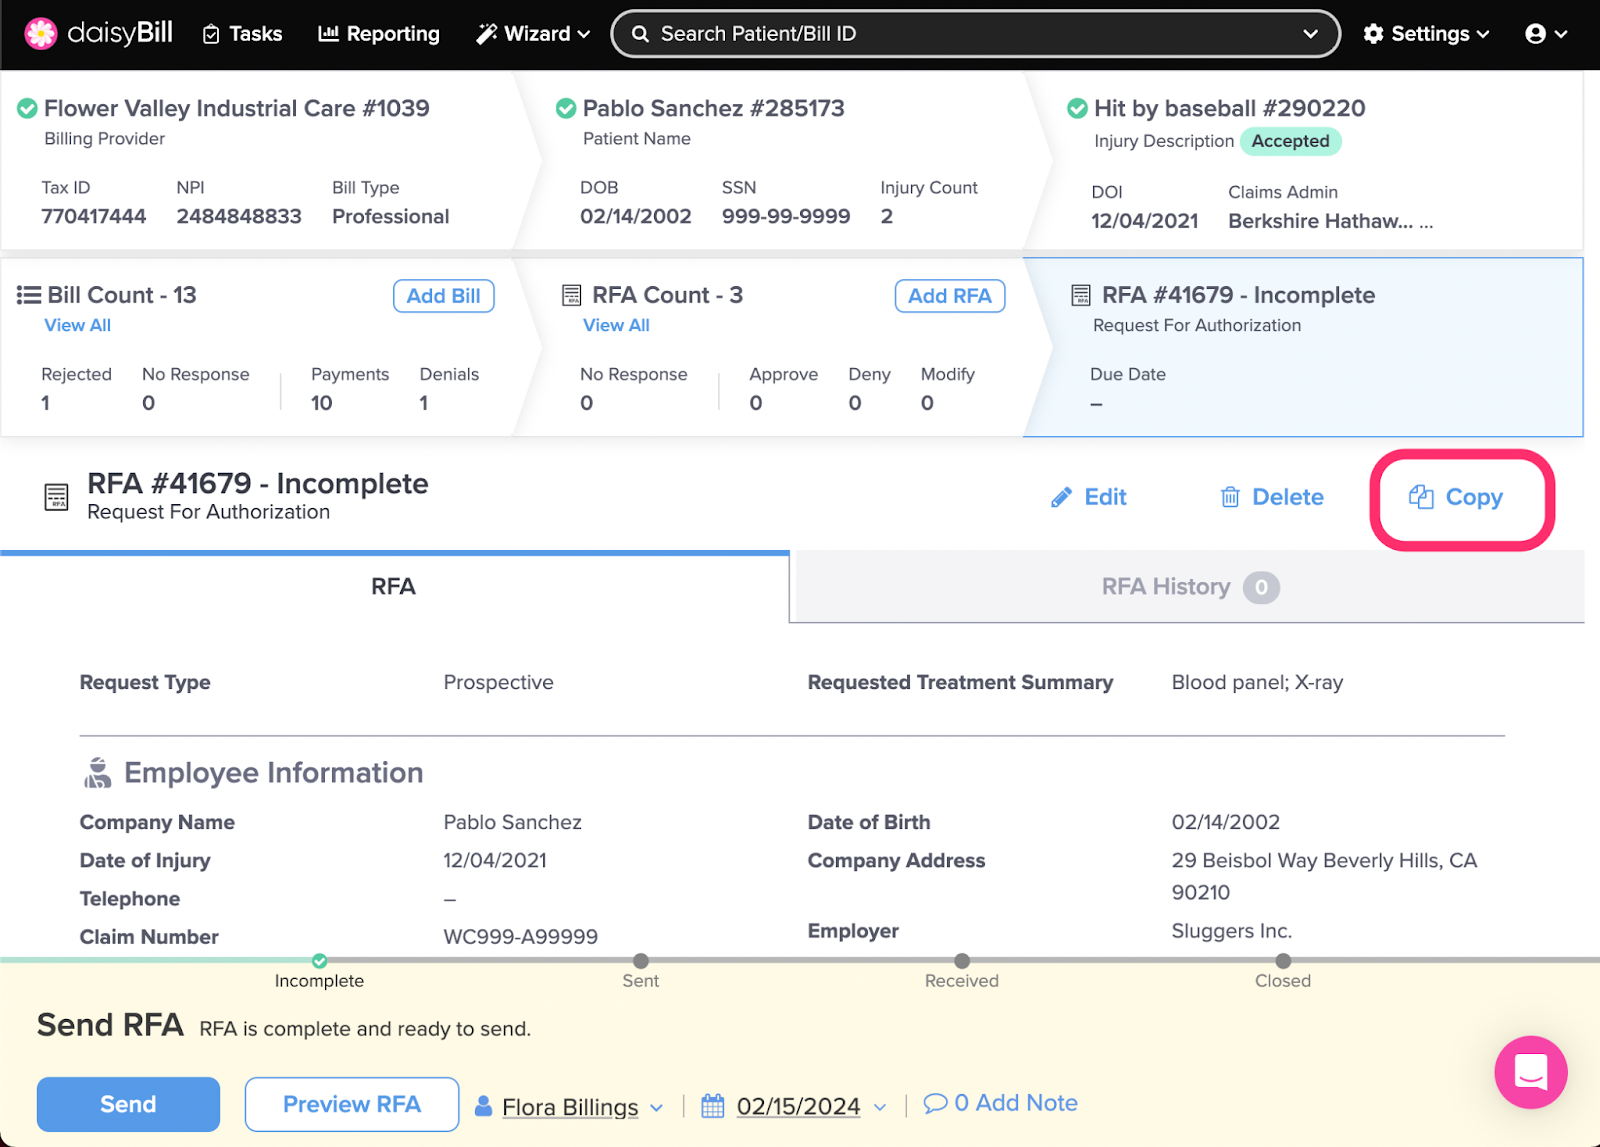
E. To copy an RFA, click ‘Copy’
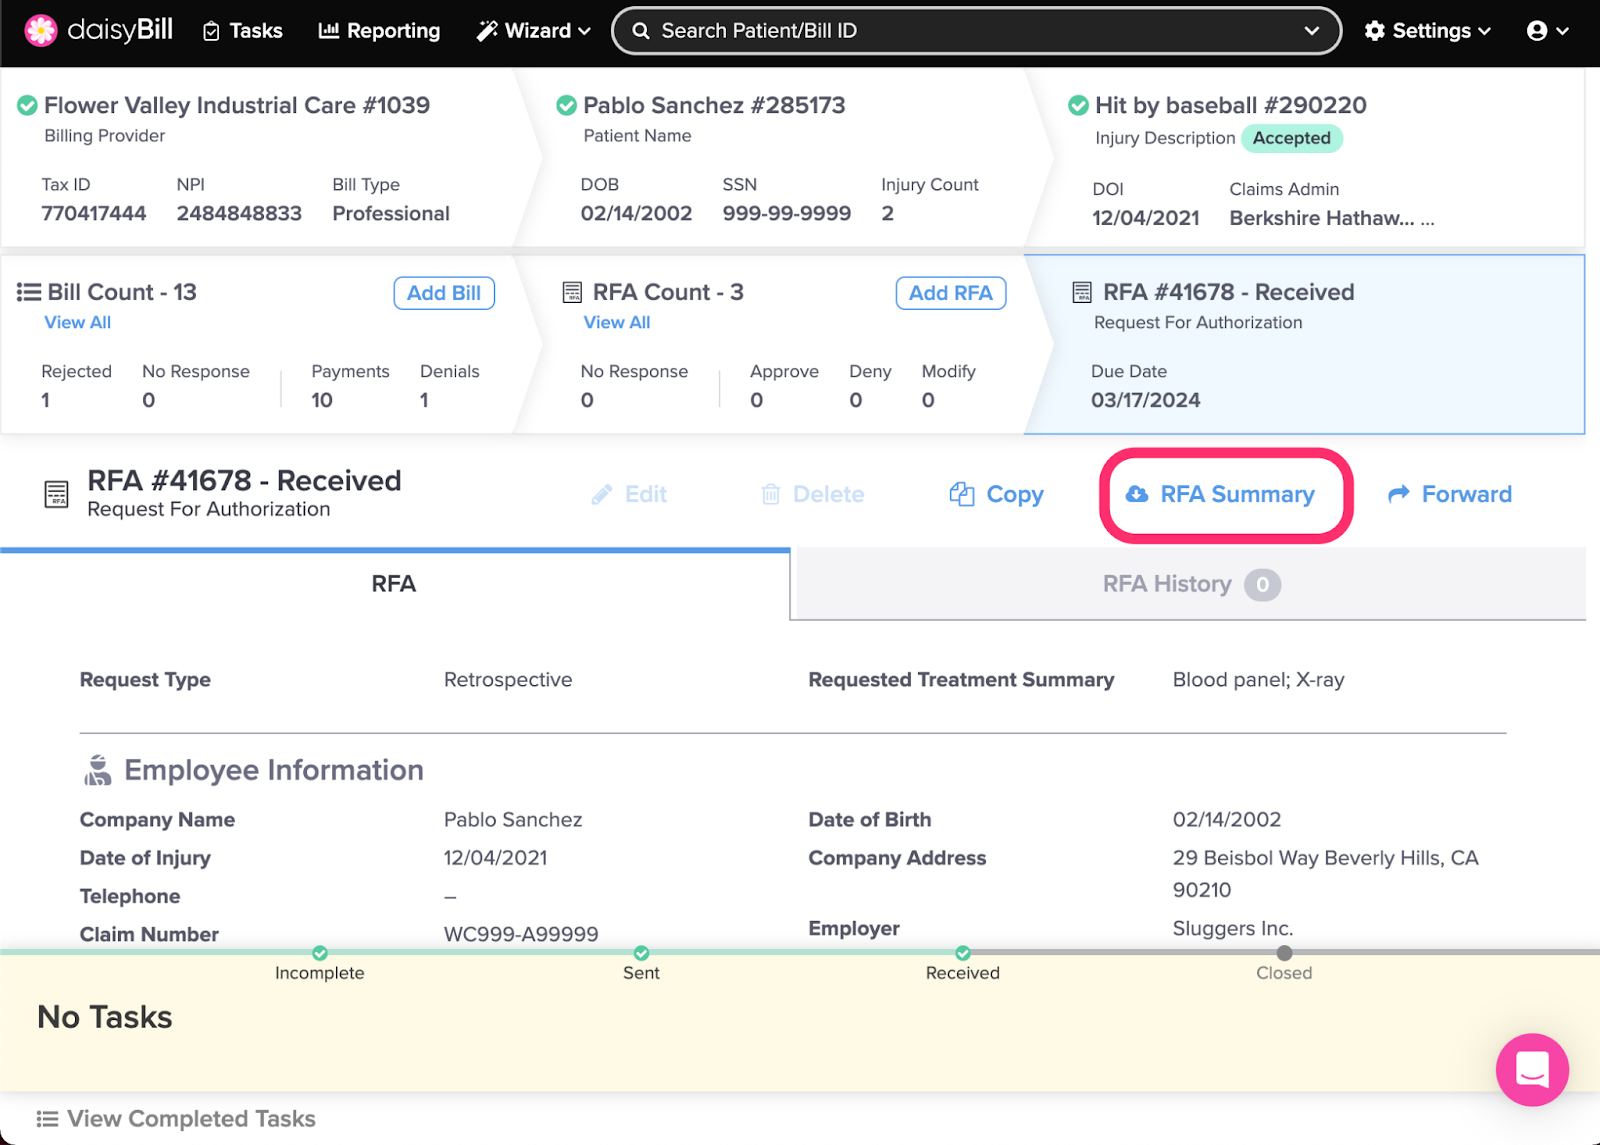
F. To view an RFA Summary, click ‘RFA Summary’
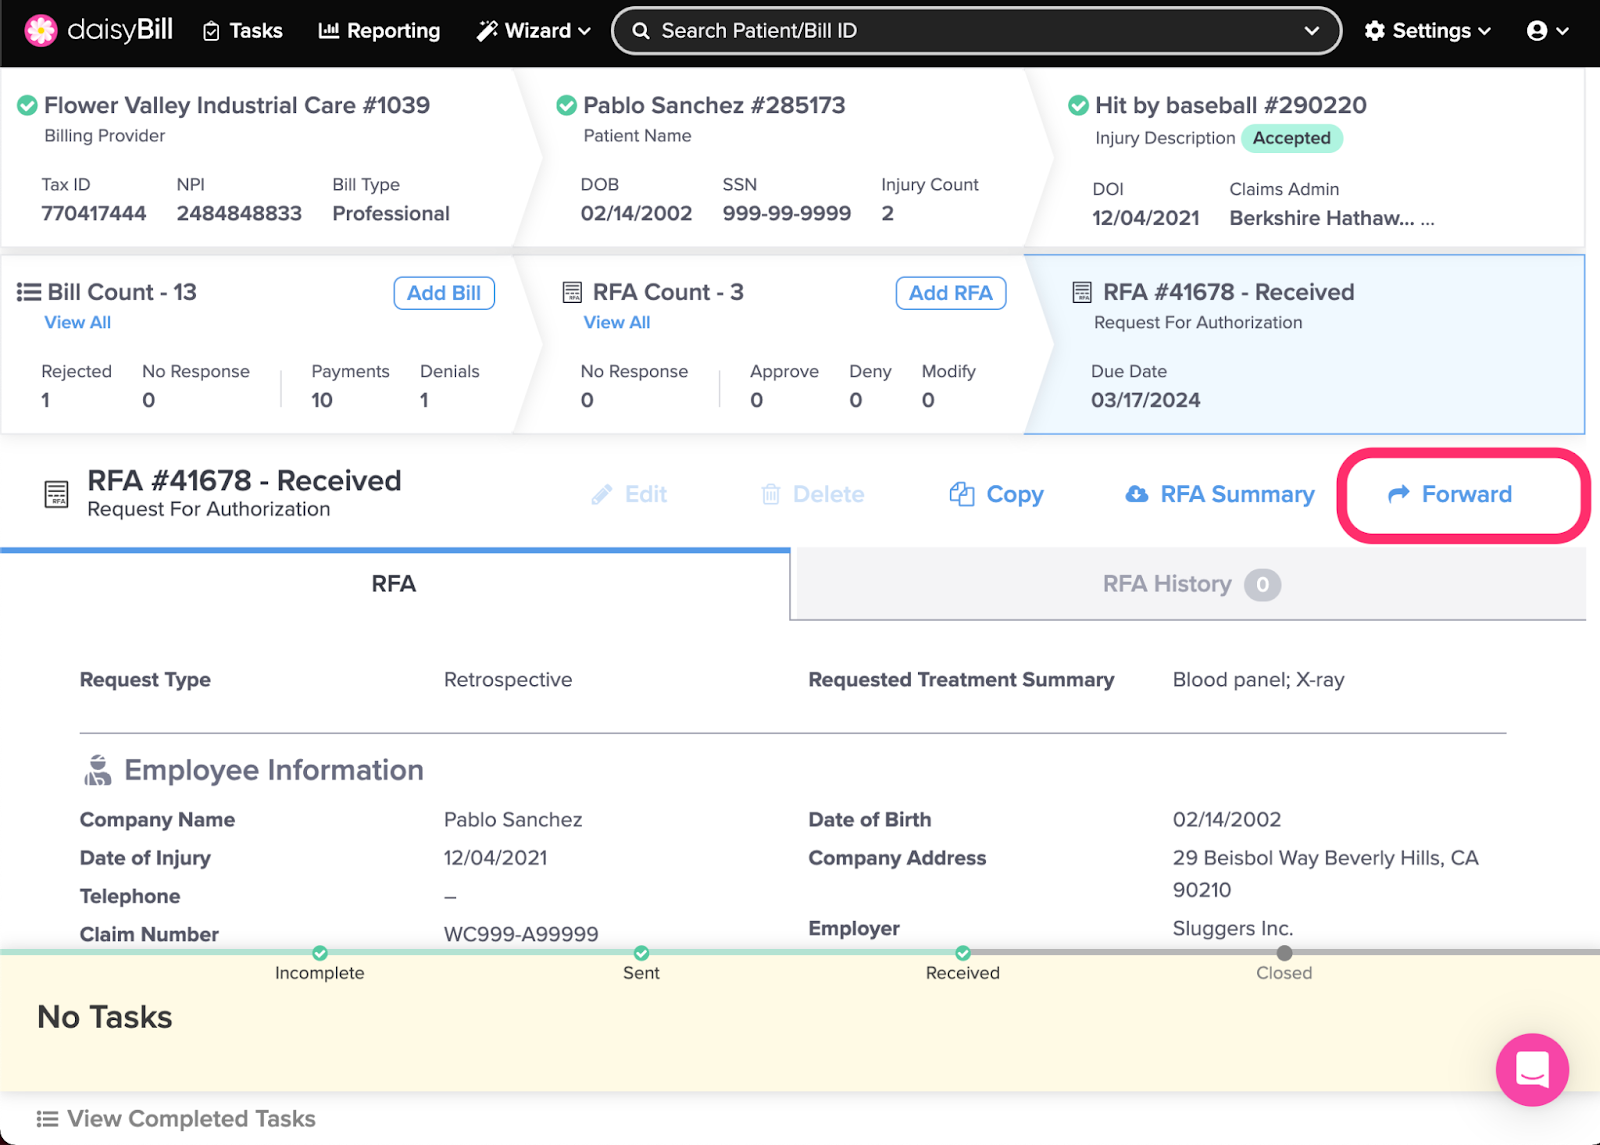
G. To forward an RFA, click ‘Forward’
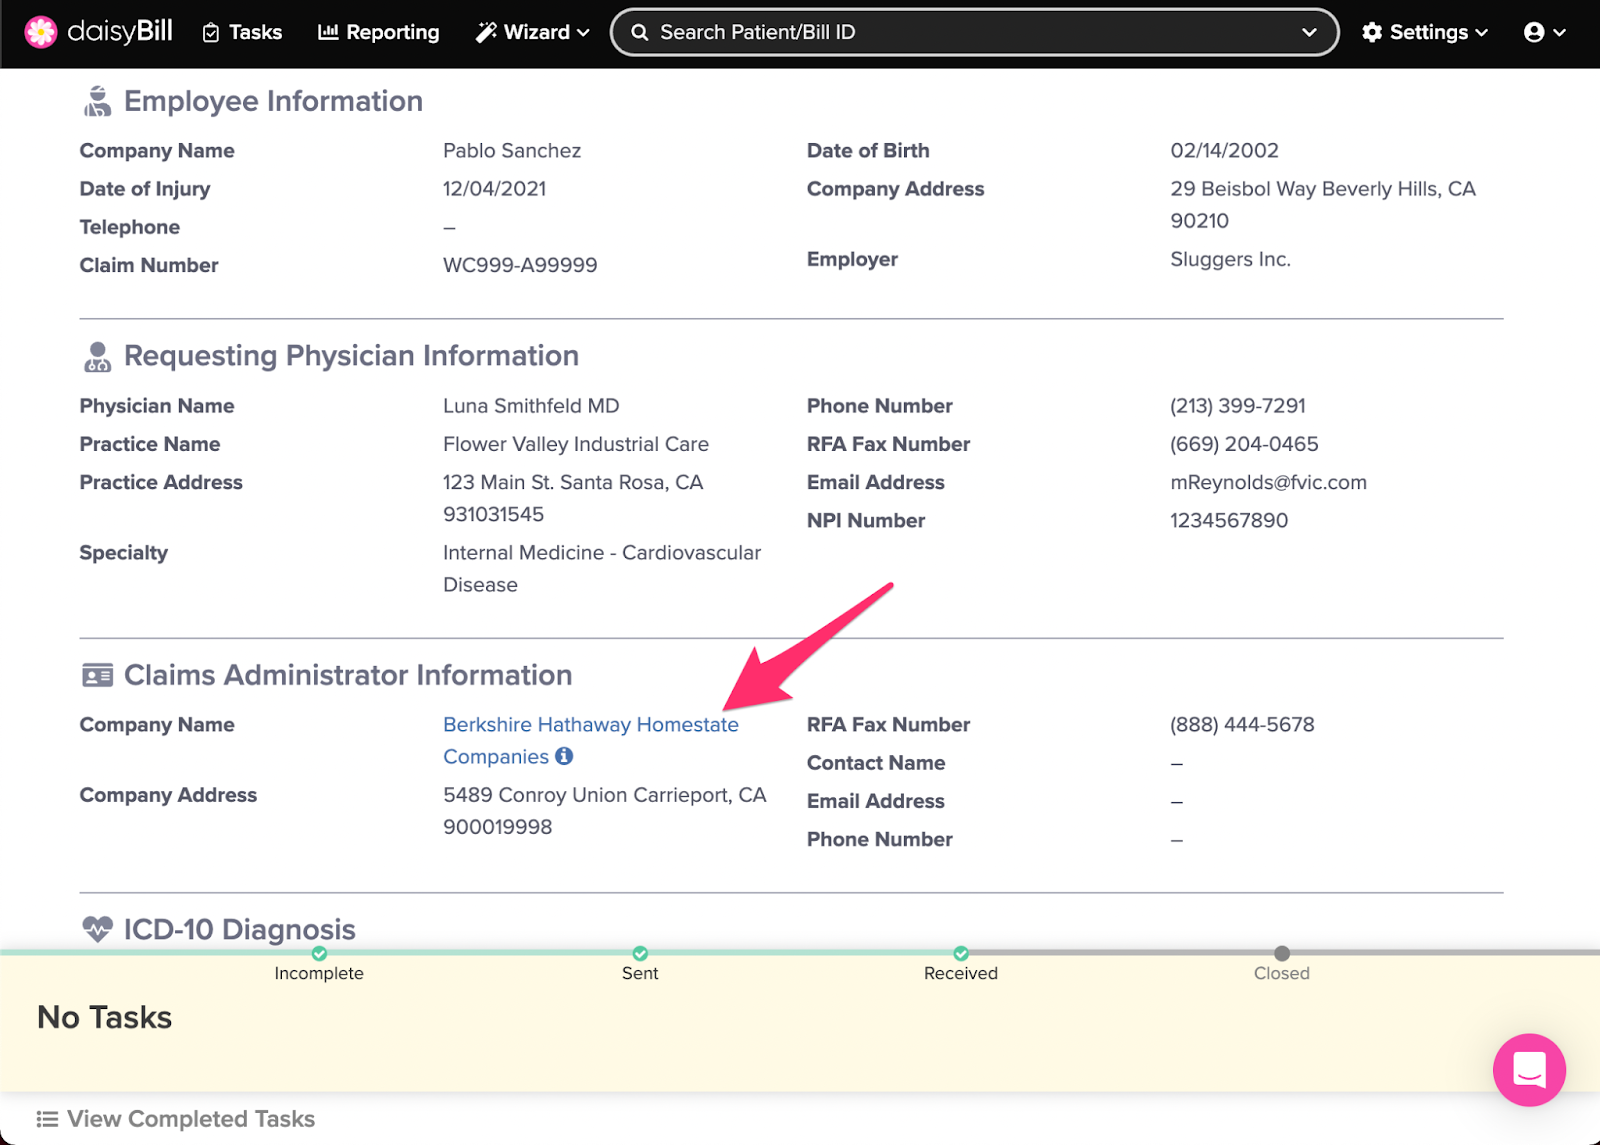
H. To view the Claims Administrator Profile, click on the Claims Administrator Name
I. To view documents attached to the RFA, see ‘RFA Documents’ section
J. To view Requested Treatments, see ‘Service/Good Requested’ section
L. To view Appointment Details see the ‘Appointment’ section of the specific Requested Treatment
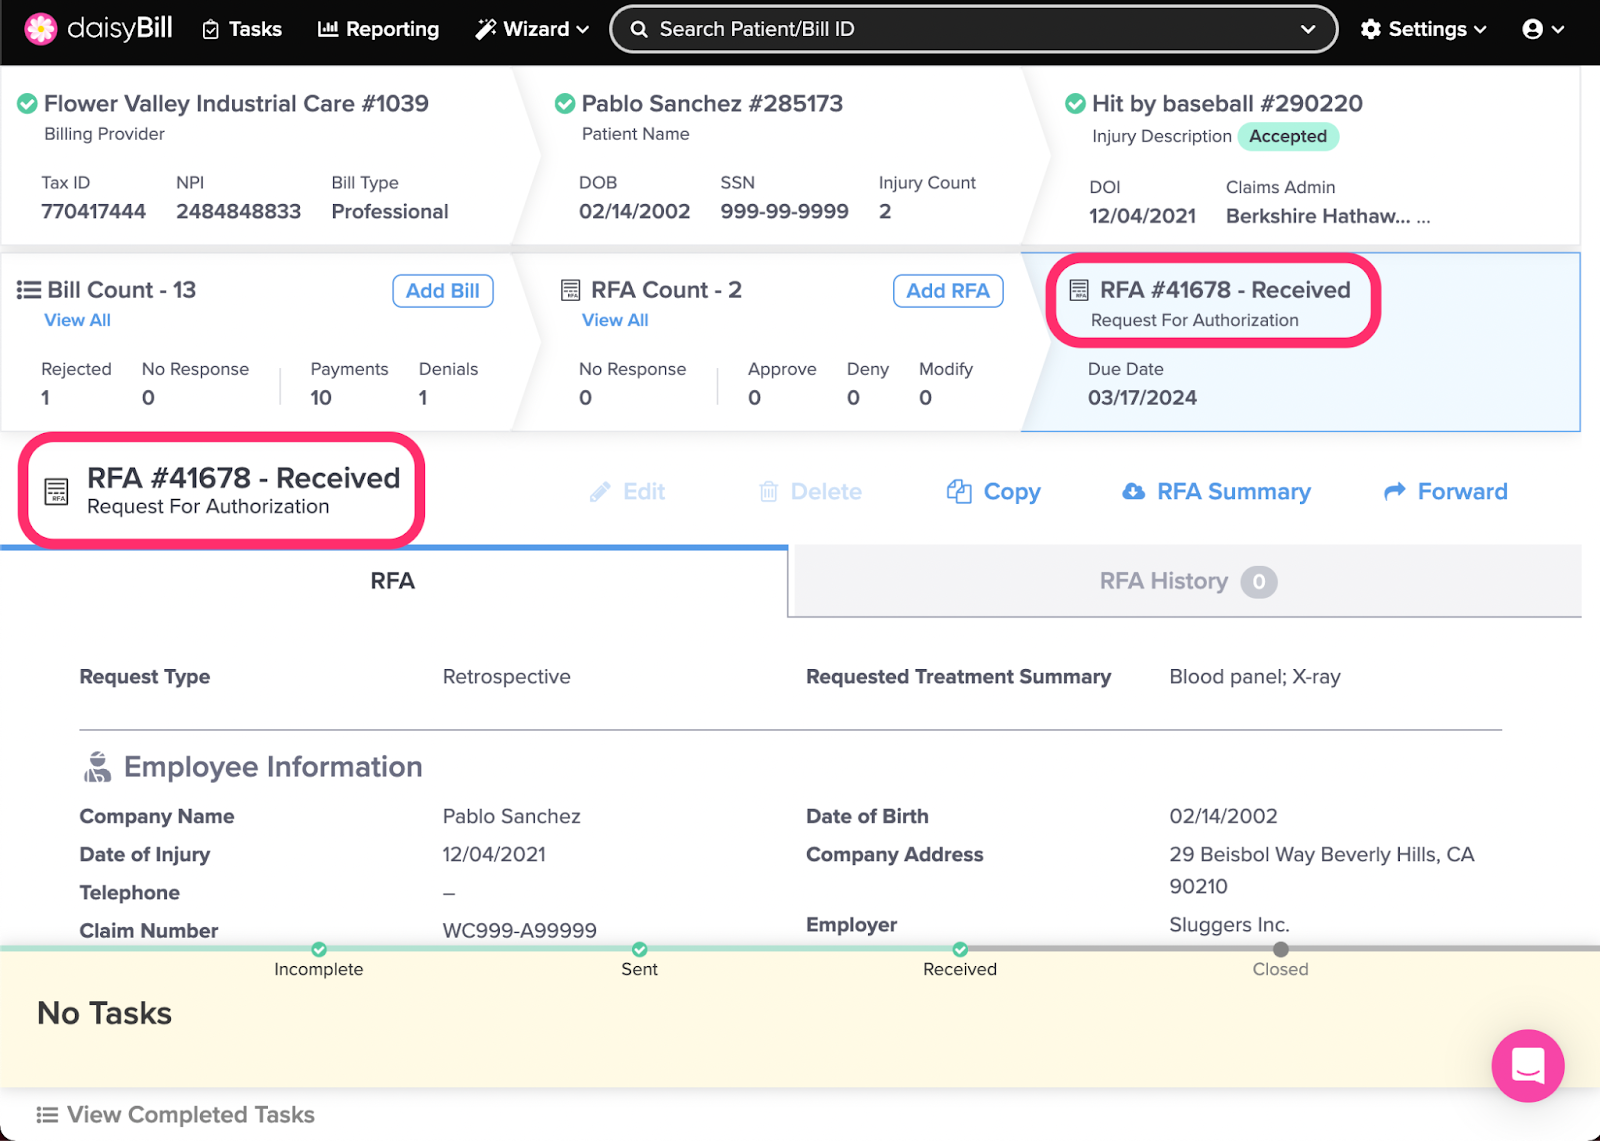
A. RFA ID and Status
If referencing an RFA in the Help Center, providing the RFA ID allows for quick and efficient look-up. The Status indicates the current stage in the life cycle of the RFA (Incomplete, Sent, Received, or Closed).
B. To view RFA History, click ‘RFA History’
RFA History provides submission and forwarding information, including fax transmission receipts. In addition, Notes can be added to the RFA History by clicking Add Note. For more information, see the Help Article: RFA History Explained.
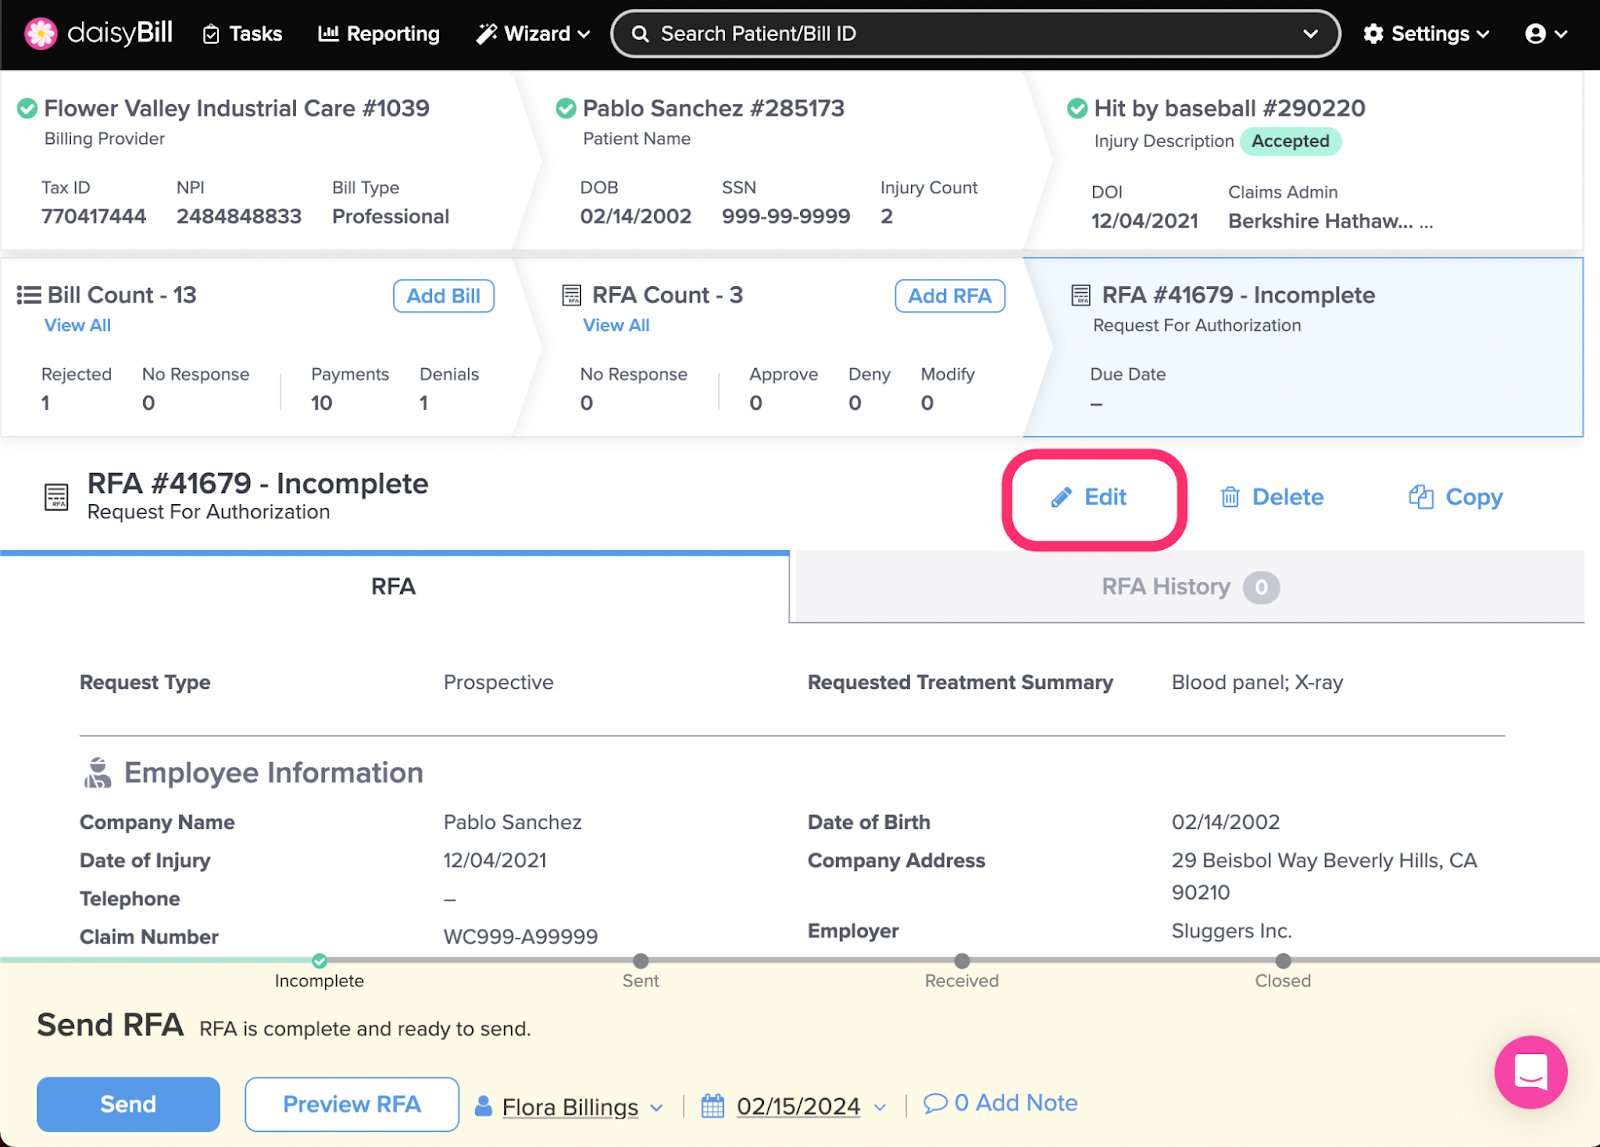
C. To edit an RFA, click ‘Edit’
Only an RFA in Incomplete status can be edited. An RFA cannot be edited after submission.
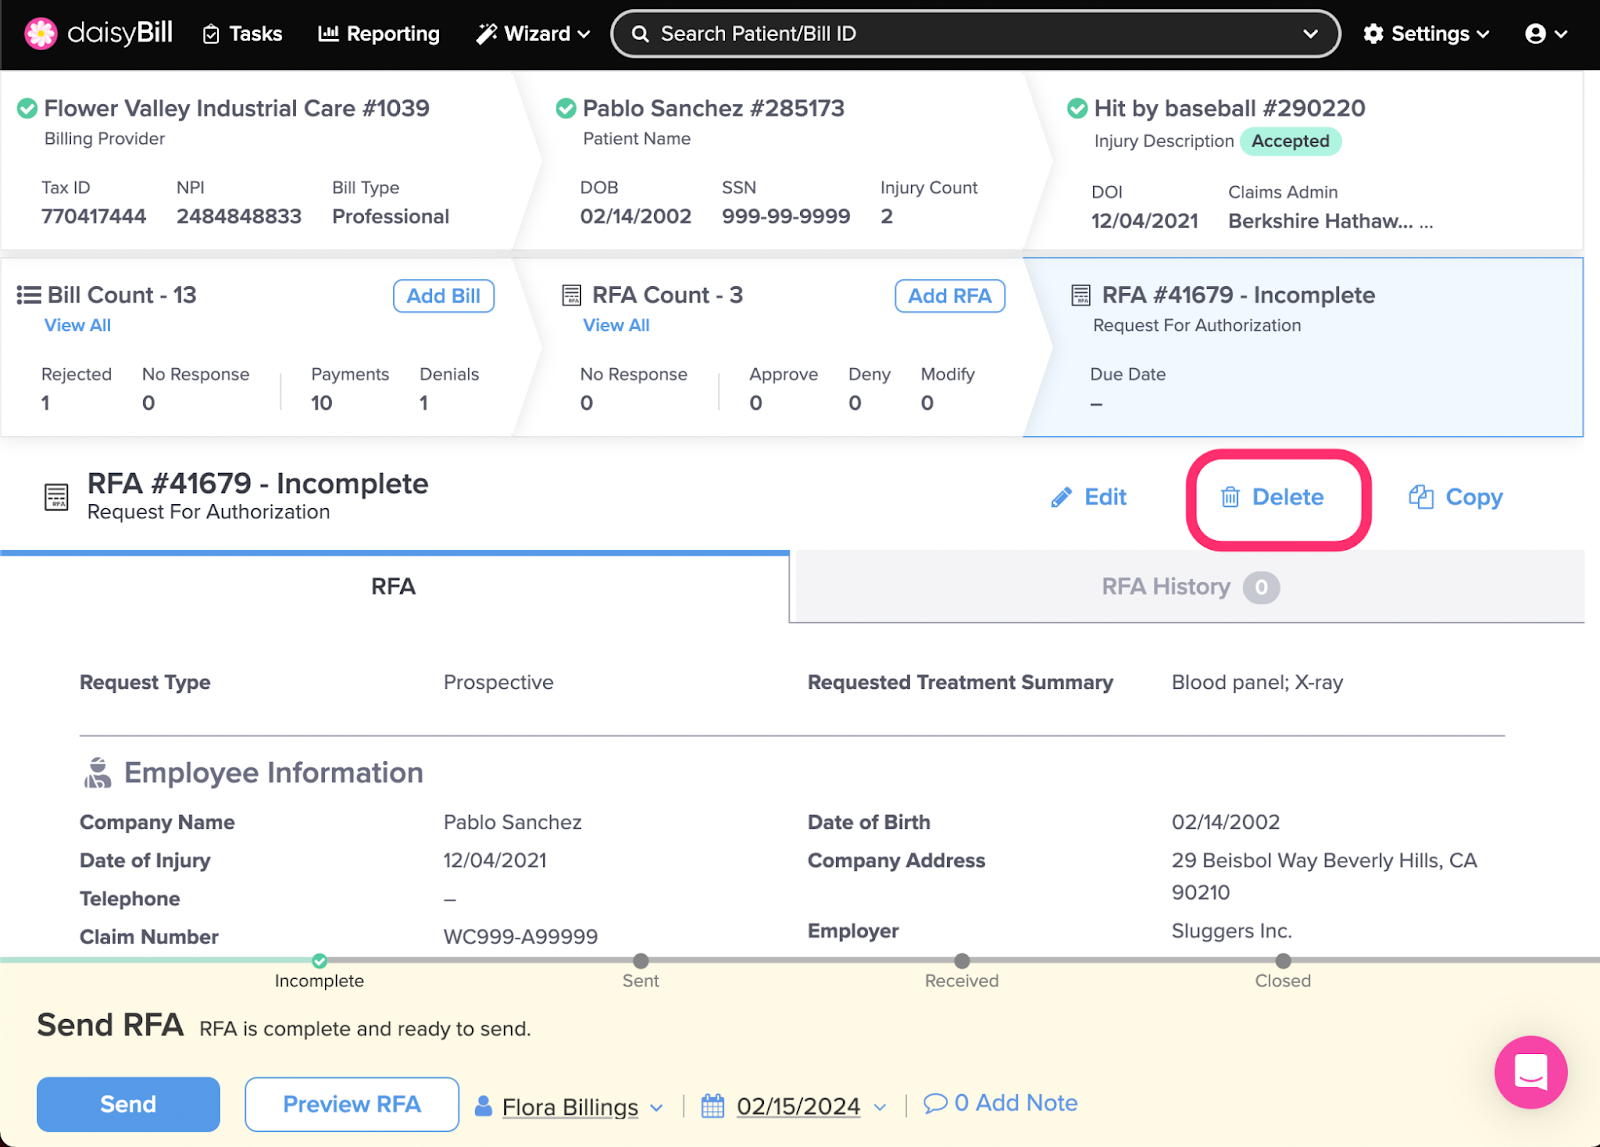
D. To delete an RFA, click ‘Delete’
Only an RFA in Incomplete status can be Deleted. An RFA cannot be deleted after submission.
E. To copy an RFA, click ‘Copy’
This creates an exact duplicate RFA that can be edited prior to submission.
F. To view an RFA Summary, click ‘RFA Summary’
Clicking ‘RFA Summary’ will open a .pdf summary of the RFA in a new tab. The RFA Summary can be downloaded or printed for your records, or Forwarded to another party for theirs.
G. To forward an RFA, click ‘Forward’
Once an RFA is sent, you may forward the RFA by email (free!) or fax (charges apply). Select an Adjustor Contact or RFA Contact from the Select Contact dropdown menu, and the contact information will be automatically populated.
For more information, see the Help Article: Forward RFA.
H. To view the Claims Administrator Profile, click on the Claims Administrator Name
This opens the Claims Administrator Directory entry for that particular Claims Administrator.
I. To view documents attached to the RFA, see ‘RFA Documents’ section
- To upload additional RFA Document(s), click Add Document
- To view a document, click the icon under ‘View’
- To delete a document, click the Trashcan icon under ‘Delete’

J. To view Requested Treatments, see ‘Service/Good Requested’ section
Each Service/Good Requested on the RFA displays as its own numbered section
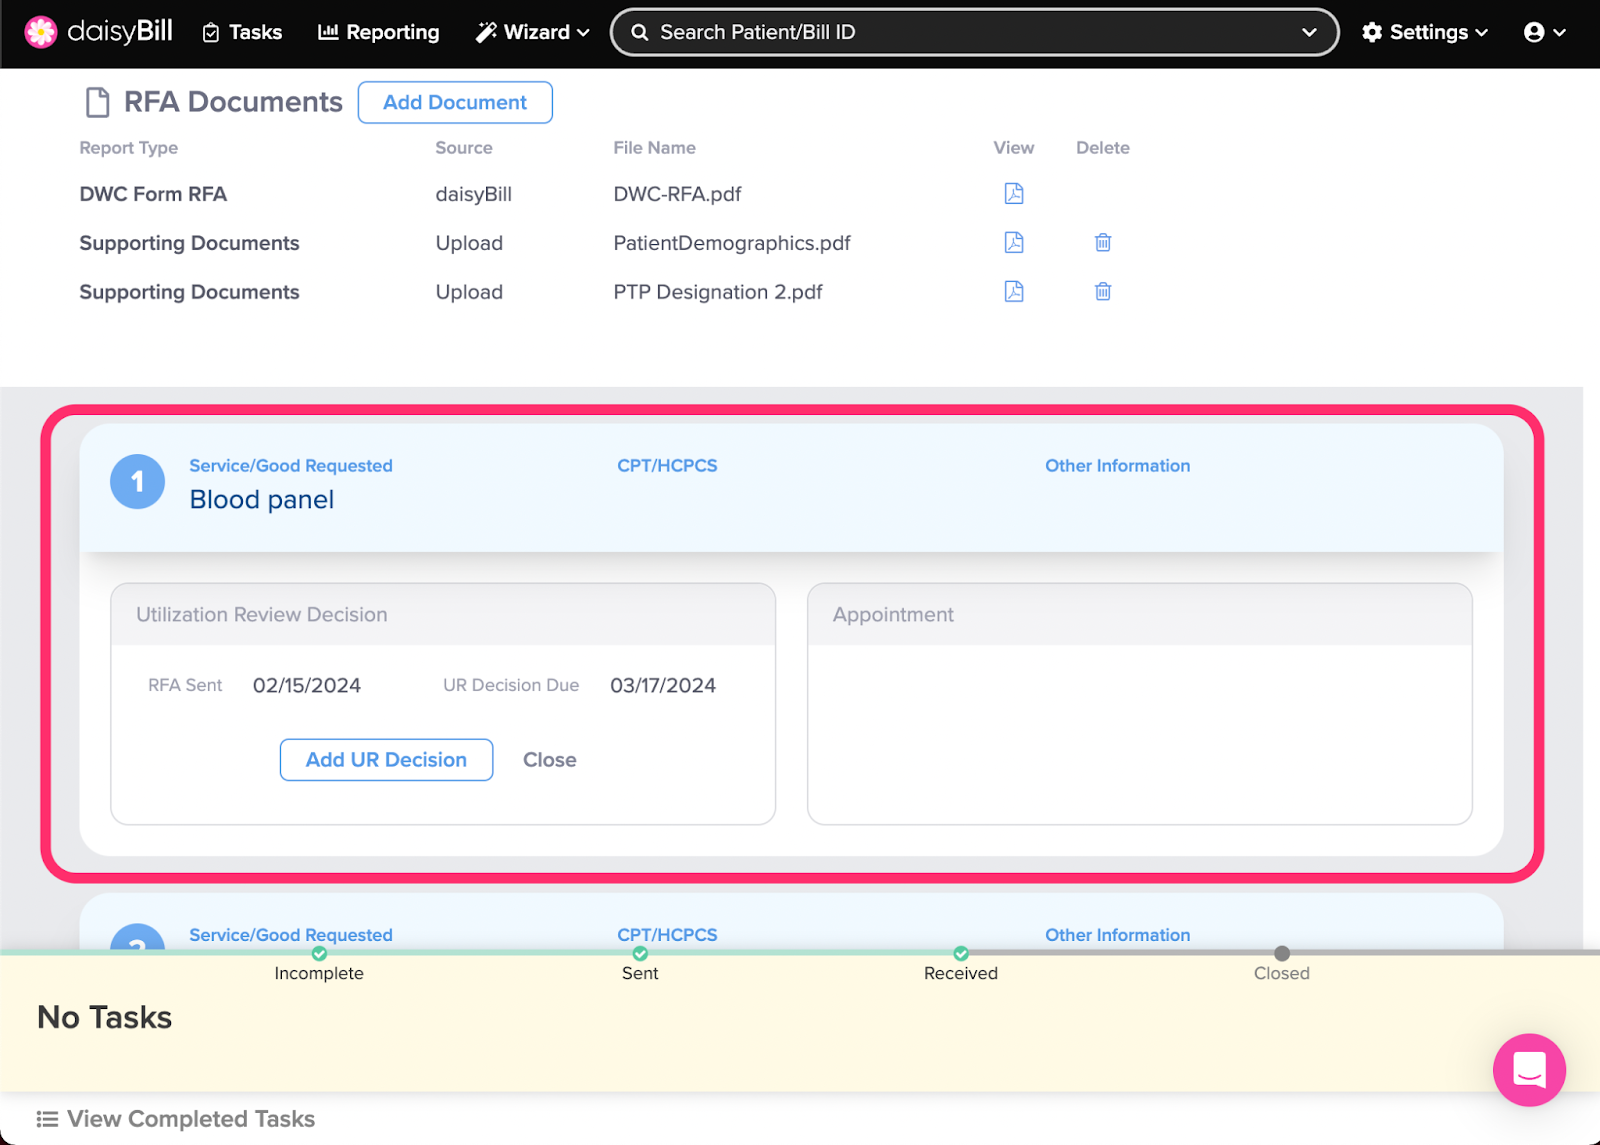
K. To view UR Decision, see ‘Utilization Review Decision’ section of the specific Service/Good Requested
- To edit a UR Decision, click the Pencil icon
- To delete a UR Decision, click the Trashcan icon
Note: UR Decisions that are sent by you to One Call for scheduling cannot be edited or deleted after being sent.
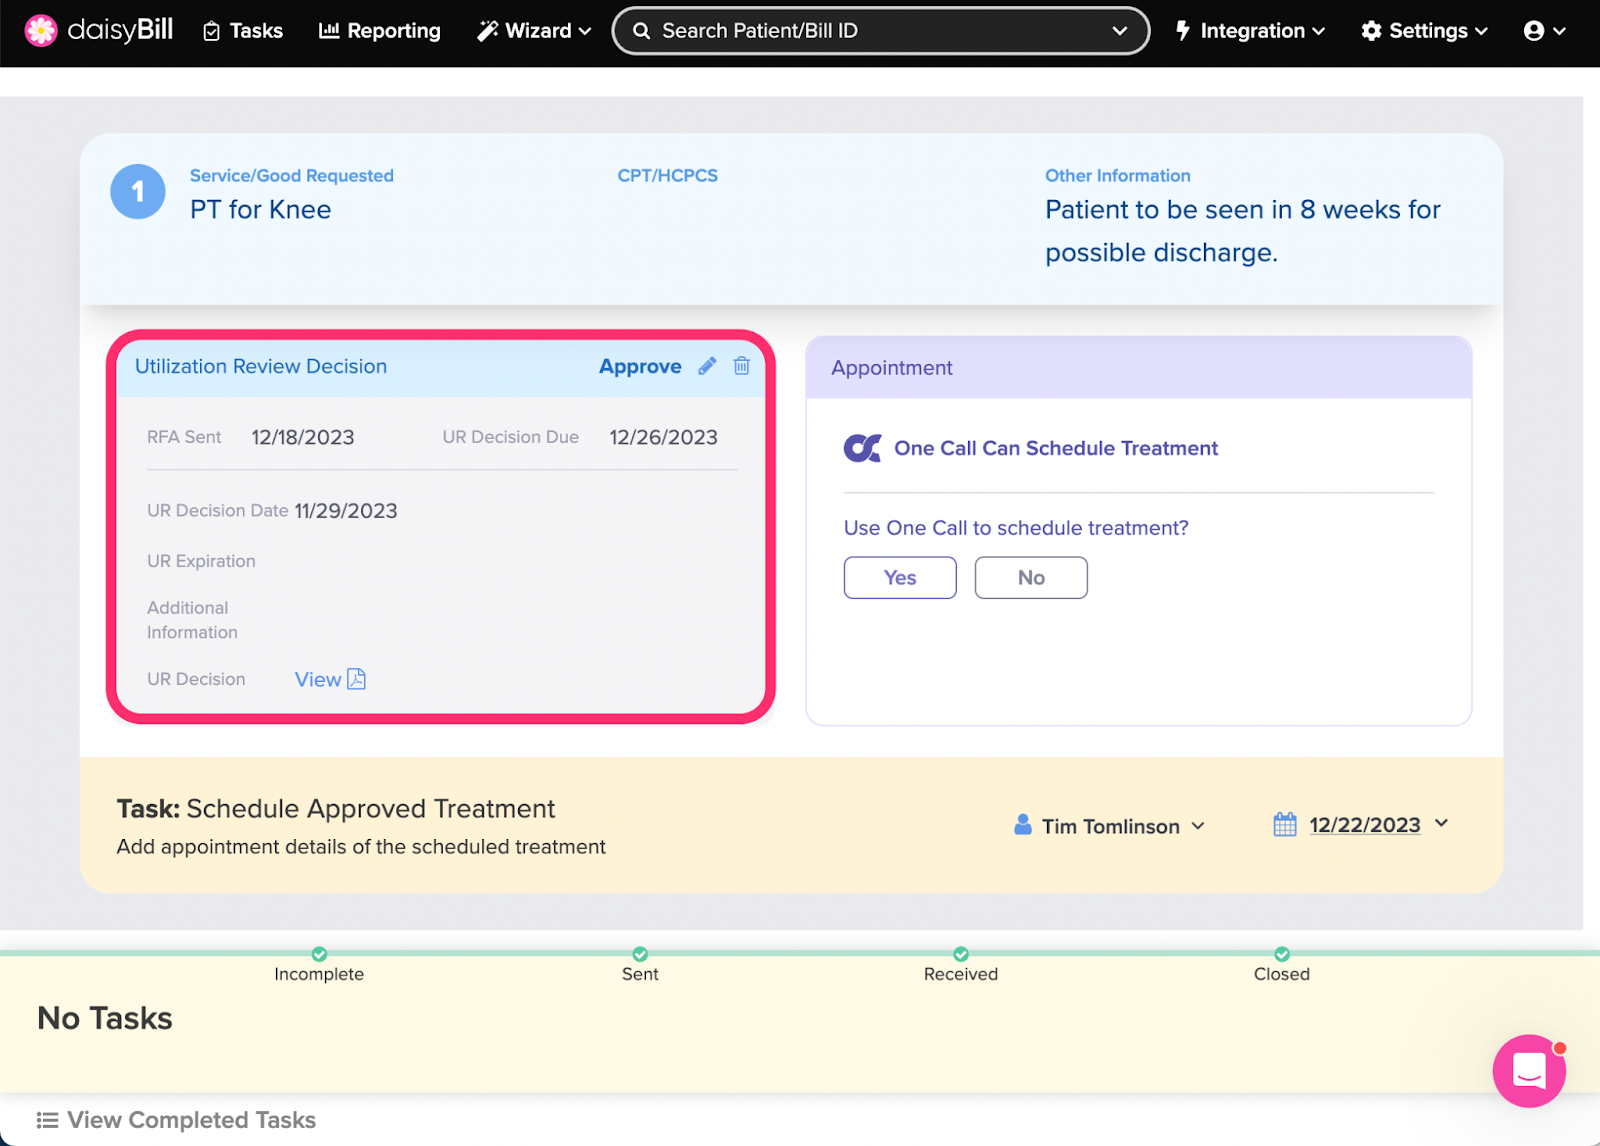
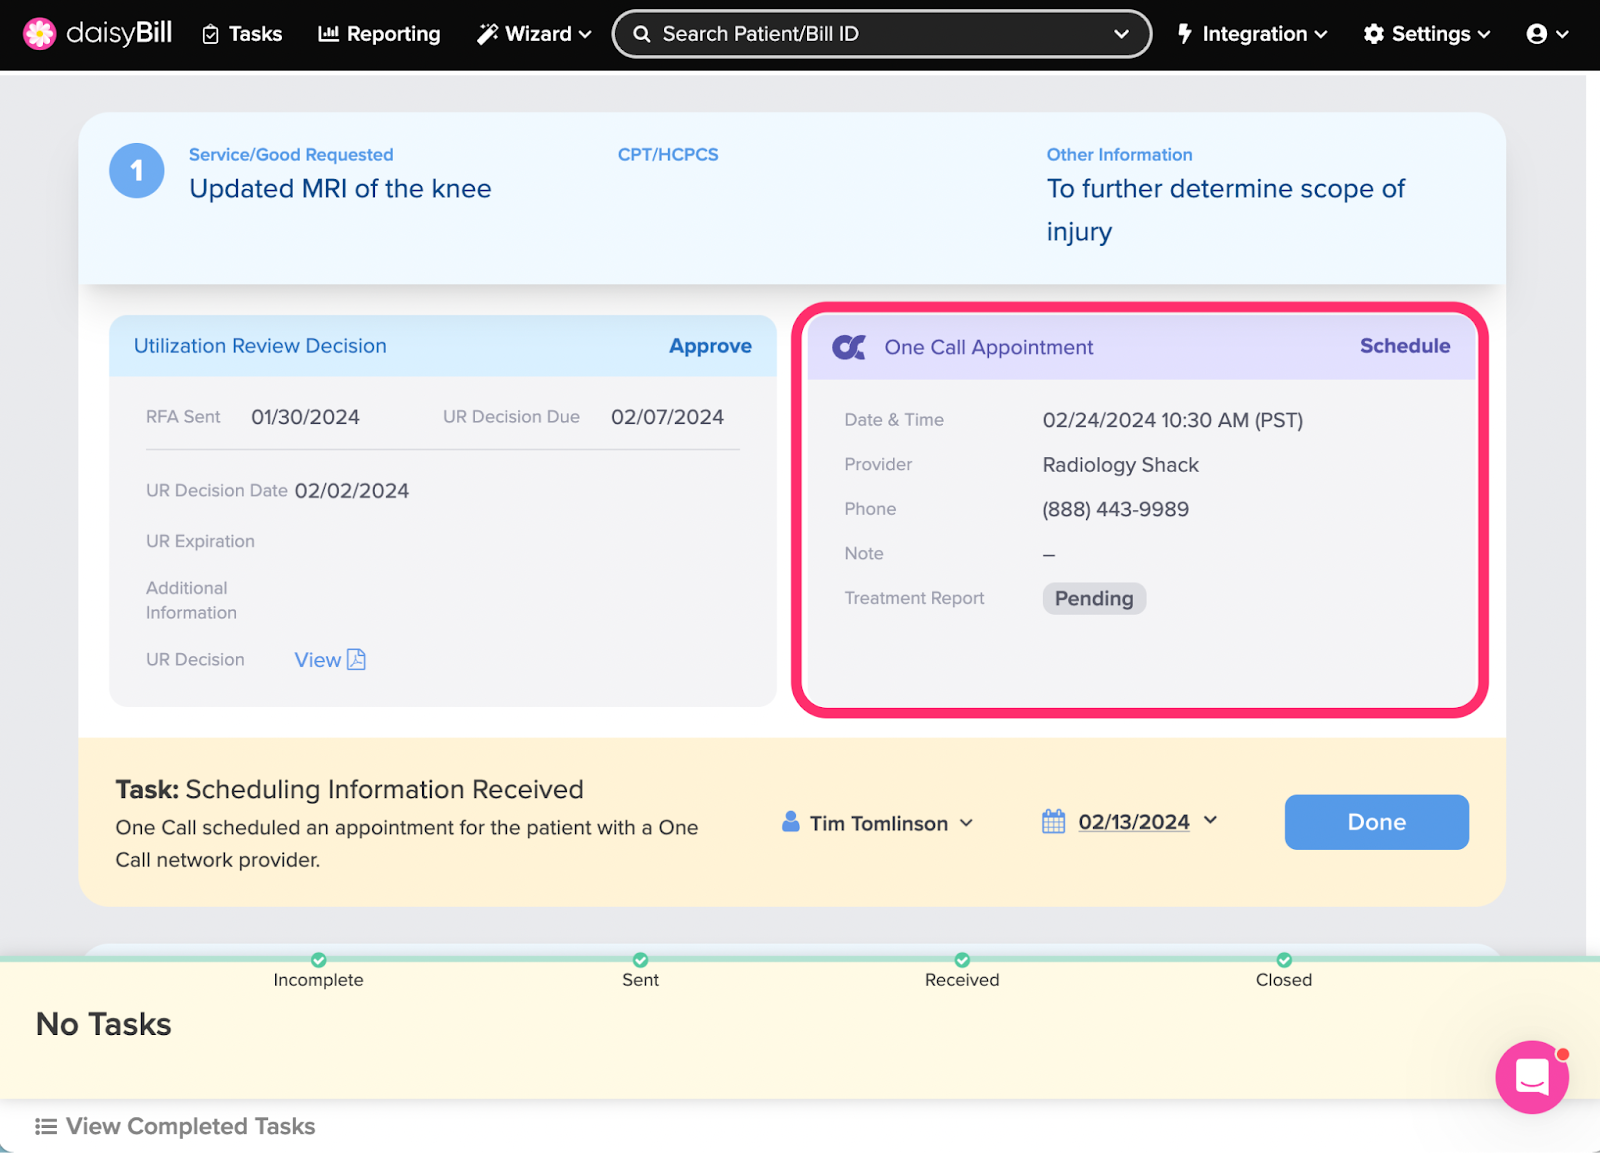
L. To view Appointment Details see the ‘Appointment’ section of the specific Requested Treatment
Once a Requested Treatment has received a UR Decision, Appointment Details can be added to the Requested Treatment, or, qualifying approved Requested Treatments can be sent to One Call to schedule for you!
All the RFA information you need in one place!