Uploading a UR Decision in daisyBill is simple! Follow these steps to complete the Match UR Decision Task and you’lll be on your way in no time.
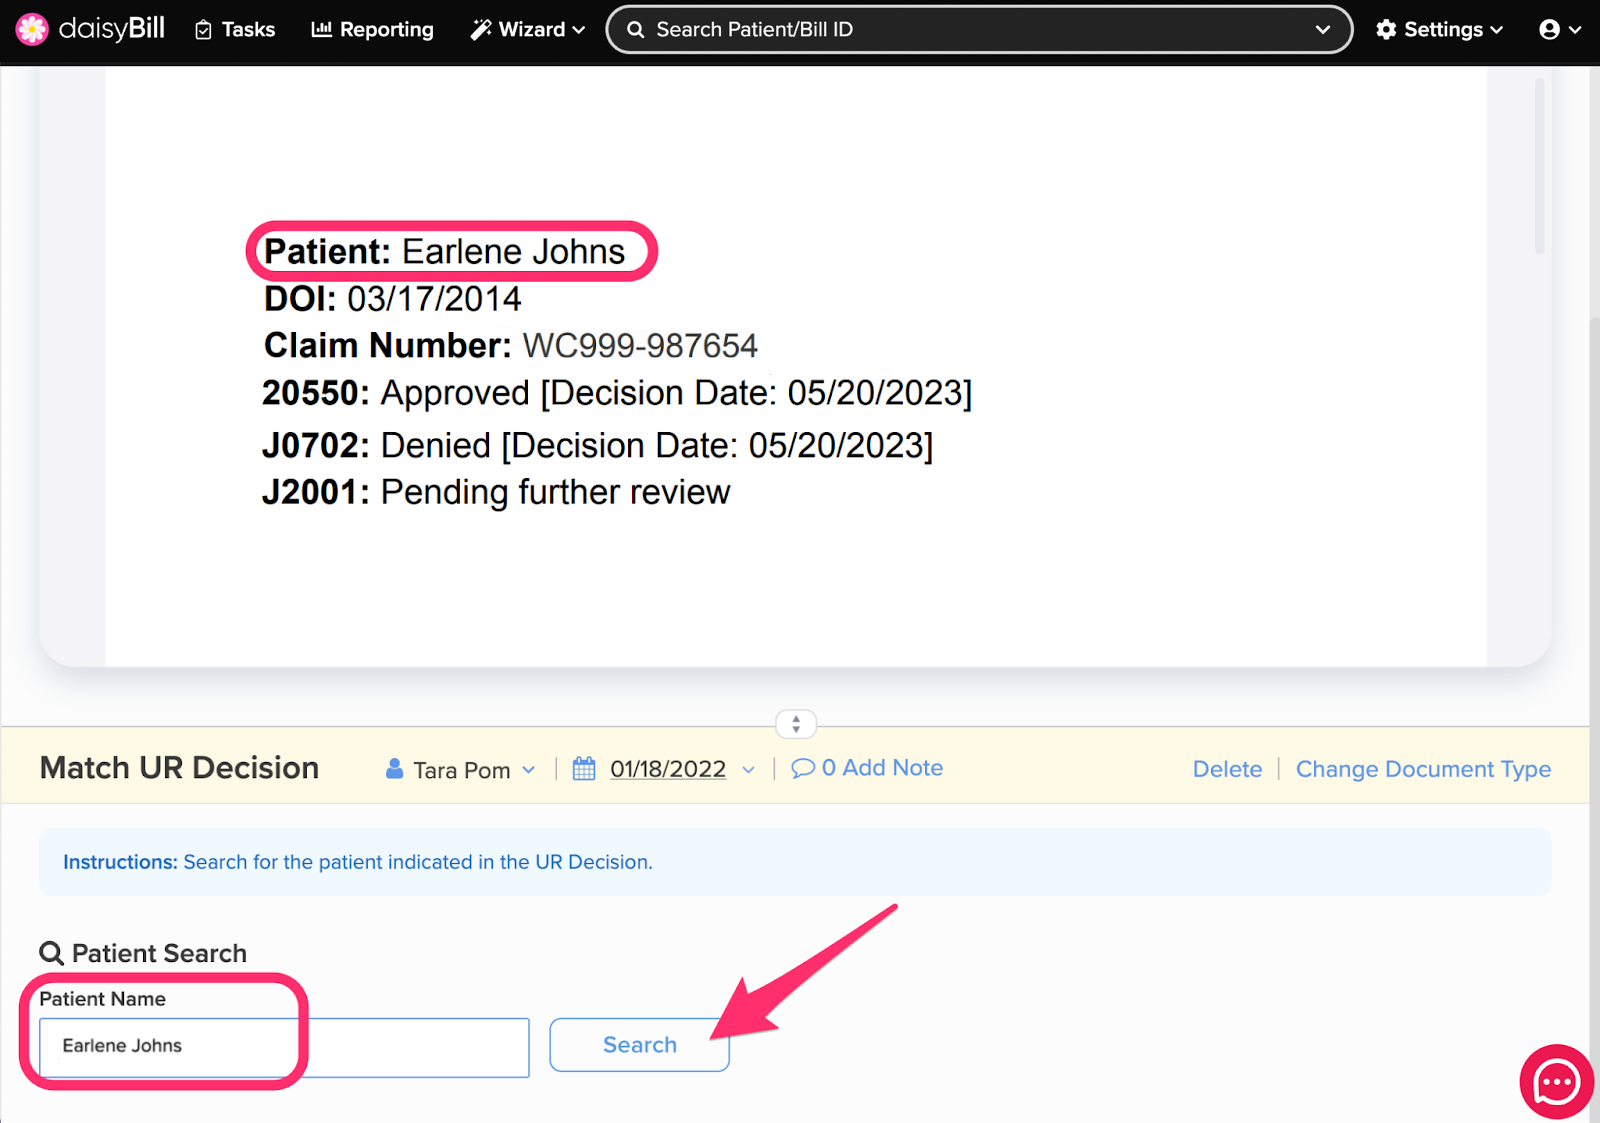
Step 1. Search for the patient by name
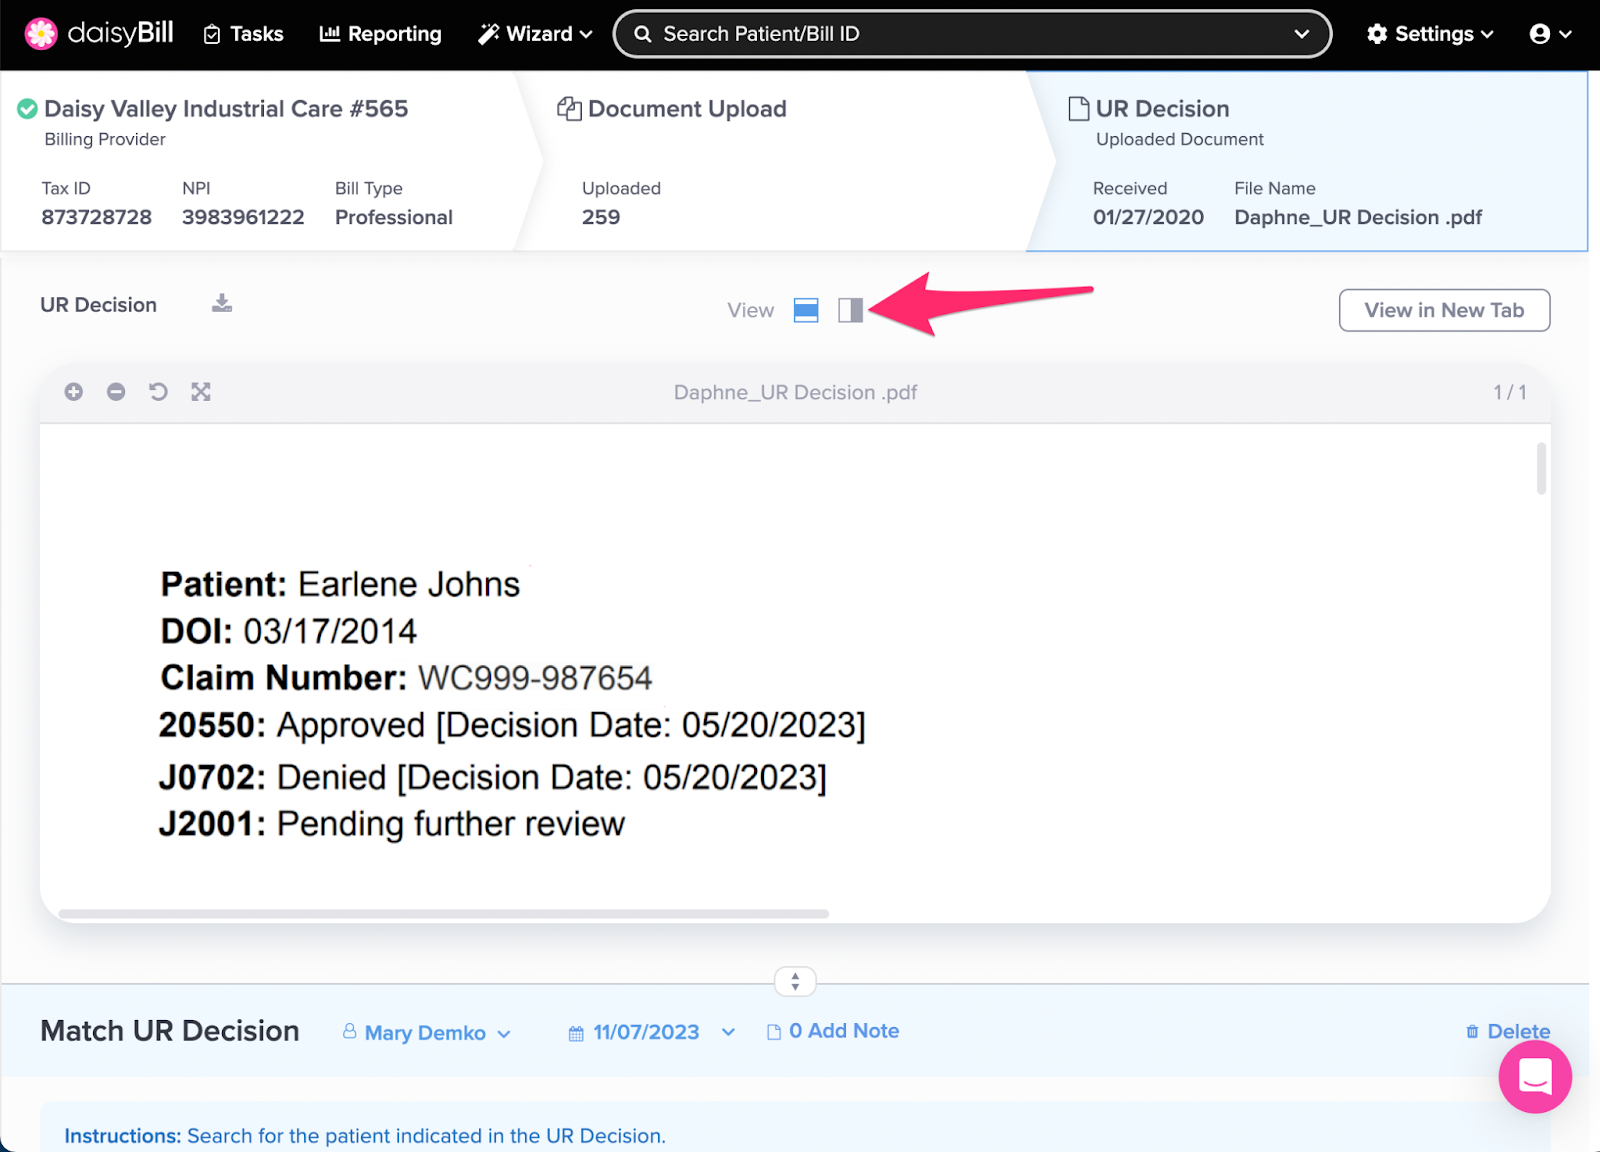
Step 2. Optional: Orient the document on the right side of your screen
This displays the entire PDF document on the right-hand side of your screen instead of at the top. We suggest this viewing option if you’re working on a larger monitor that can accommodate such a display.
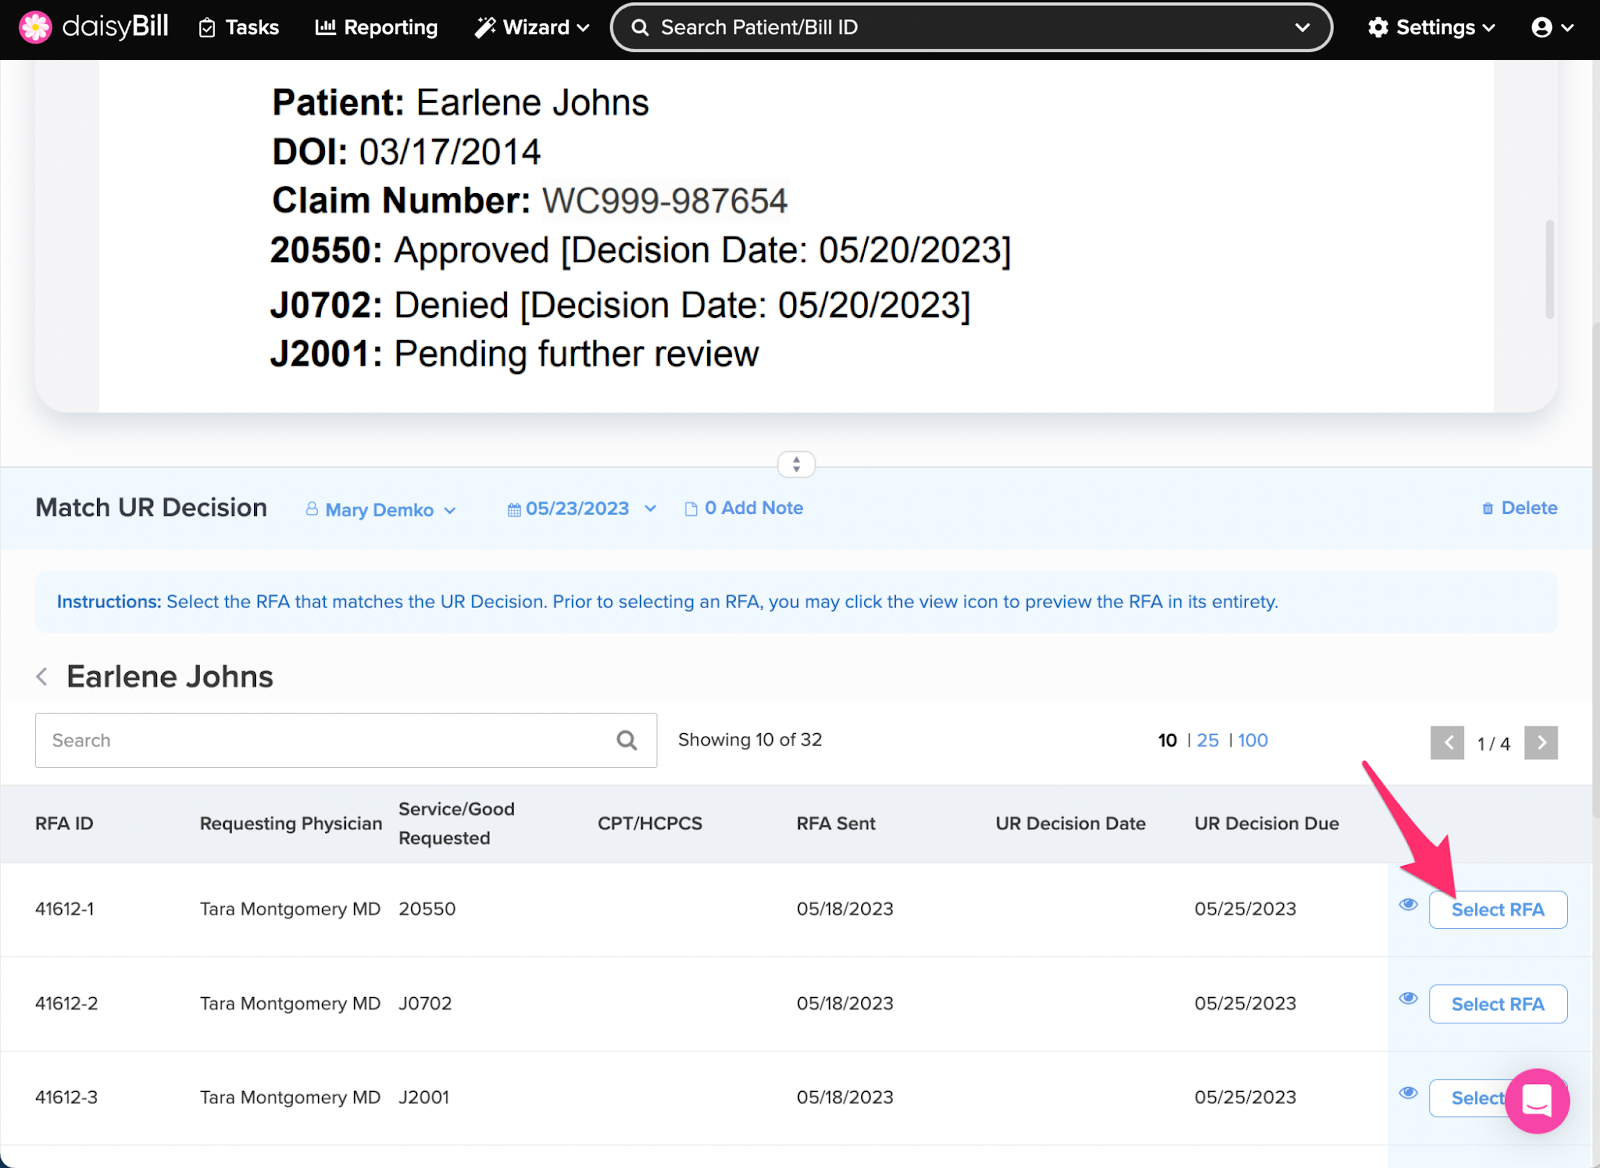
Step 3. Click ‘Select’ next to the patient for whom the UR Decision document is for

Step 4. Click ‘Select’ next to the corresponding RFA the UR Decision document is for
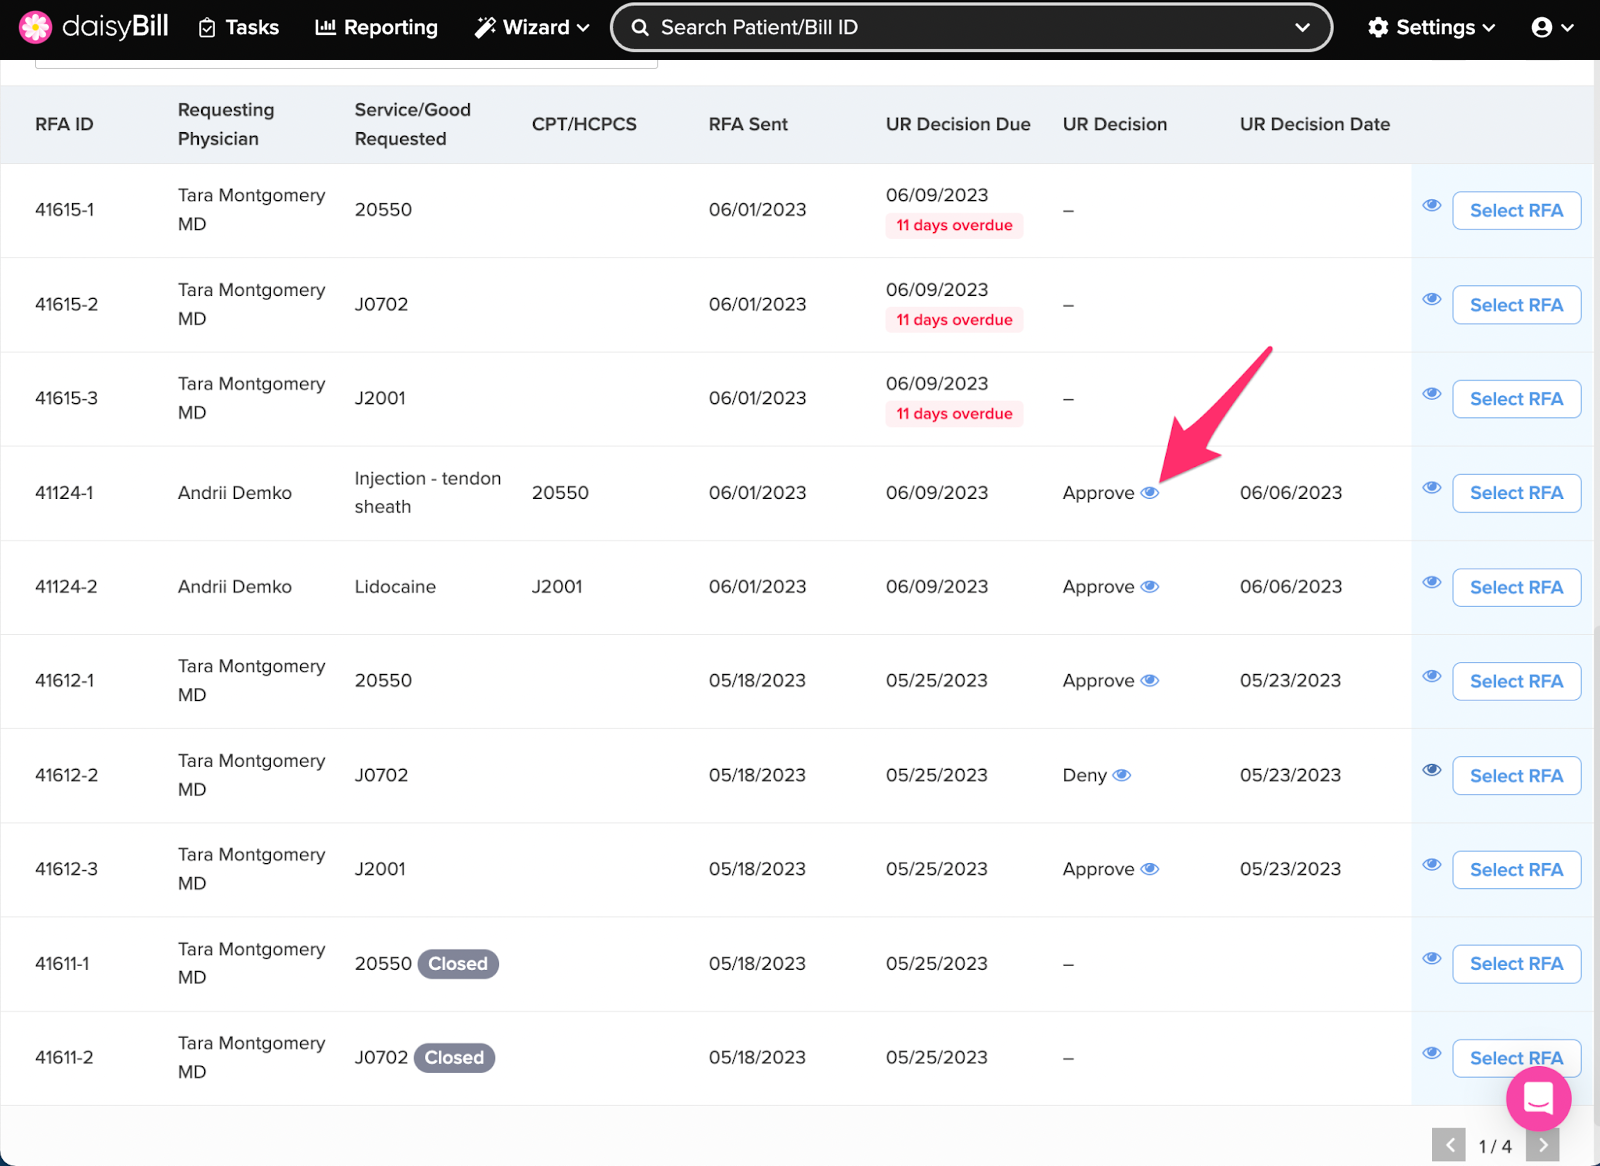
Protip: Click the eyeball icon next to quickly view the RFA to double check!
A Requested Treatment that was closed without a UR Decision will appear with a ‘Closed’ flag.
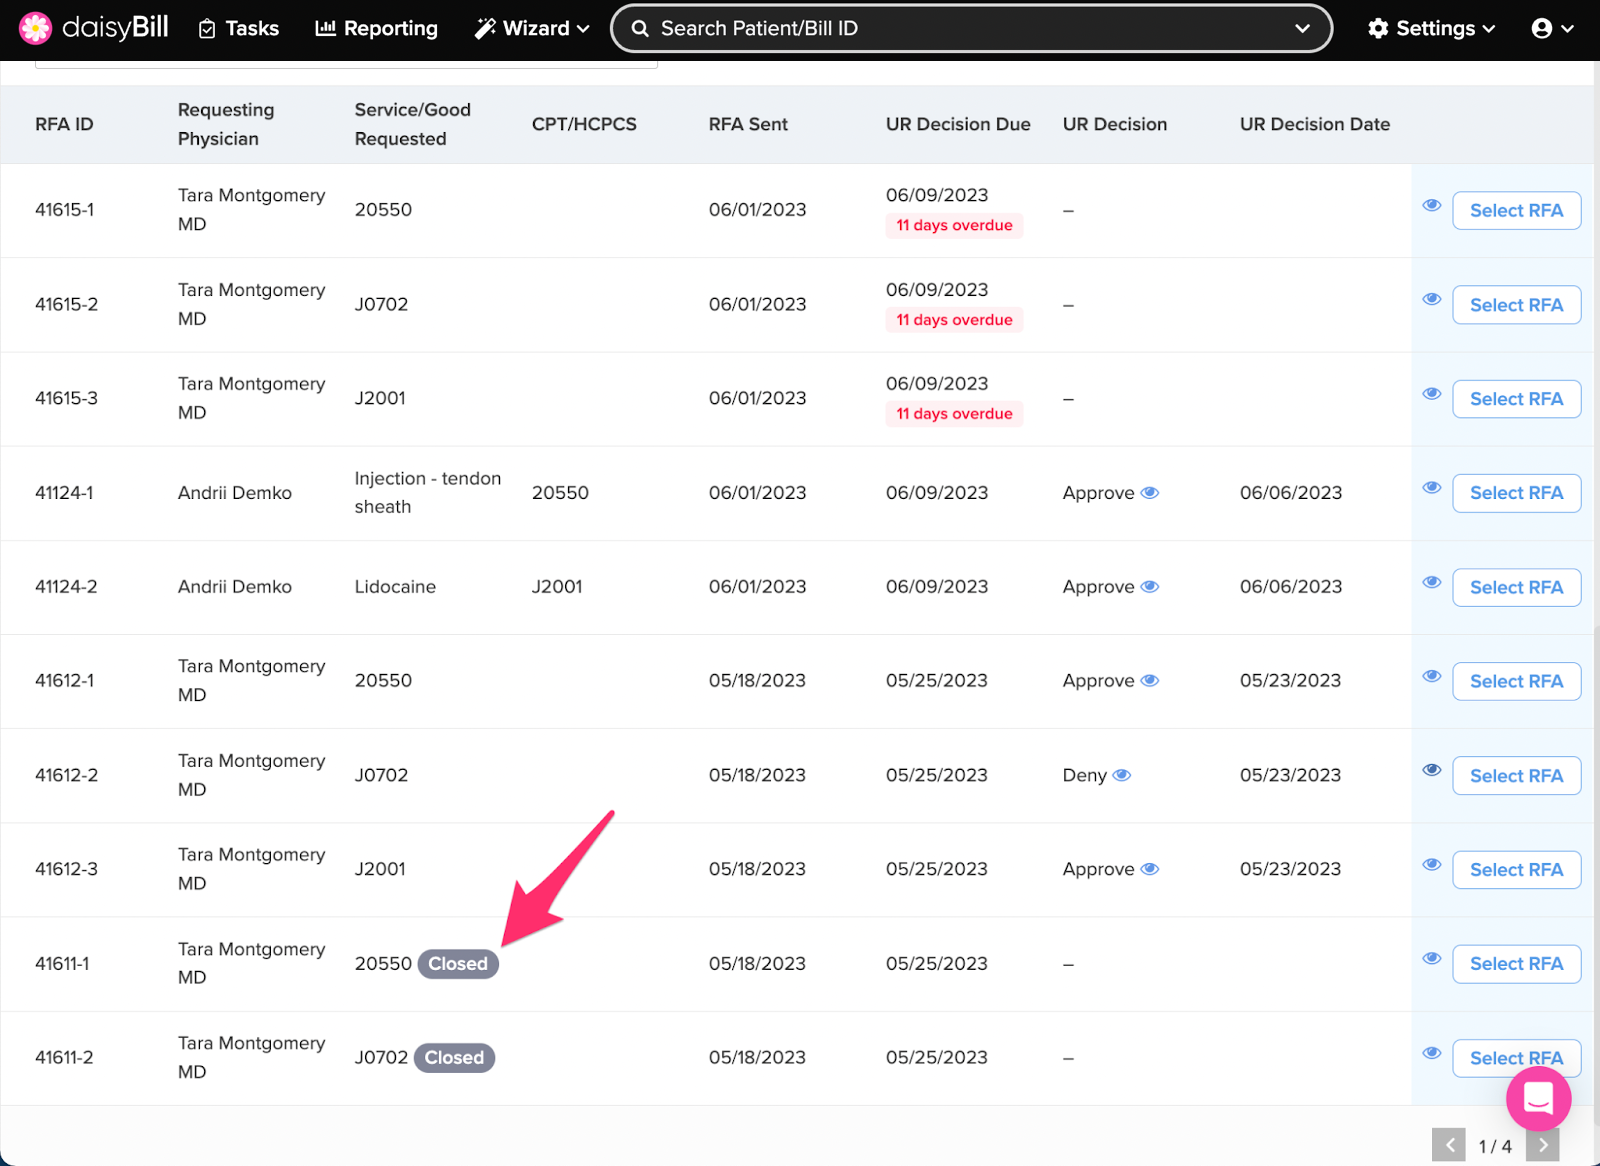
To quickly view the UR Decision Document attached to a RFA, click the eyeball icon under the ‘UR Decision’ column.
That’s it!
The UR Decision Document is now associated with the RFA.
To enter the details of the UR decision, proceed to work the newly created UR Decision Received task. For a refresher, view the Help Article: RFA Task: UR Decision Received