View Other Articles
Need to capture a provider signature?
It’s easy. Just email the signature in any file format to support@daisybill.com. When the signature is formatted and uploaded, daisyBill will send you a confirmation email.
But wait, it gets even easier! Follow the instructions below to draw a provider’s signature directly to daisyBill.
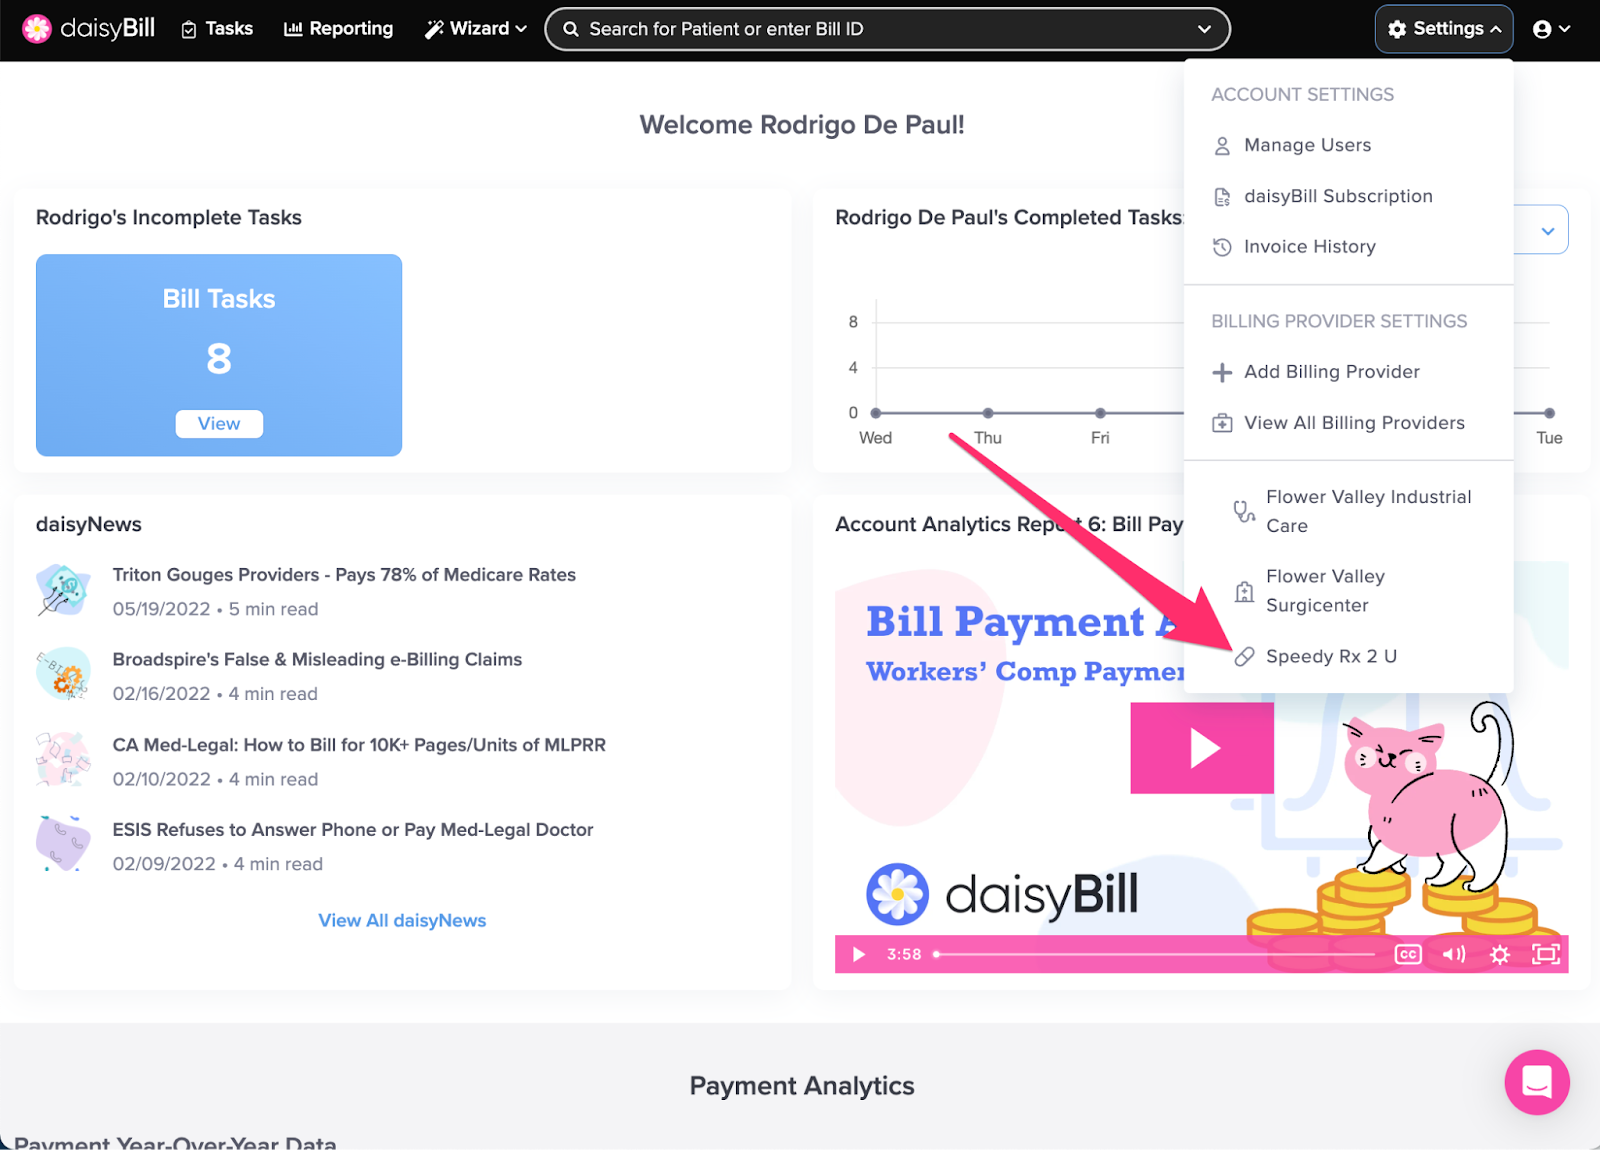
Step 1. On the navigation bar, click ‘Settings’, then click the name of the Billing Provider
This will navigate directly to the specified Billing Provider. By default, you will be taken to the ‘Billing Settings - Required’ section.
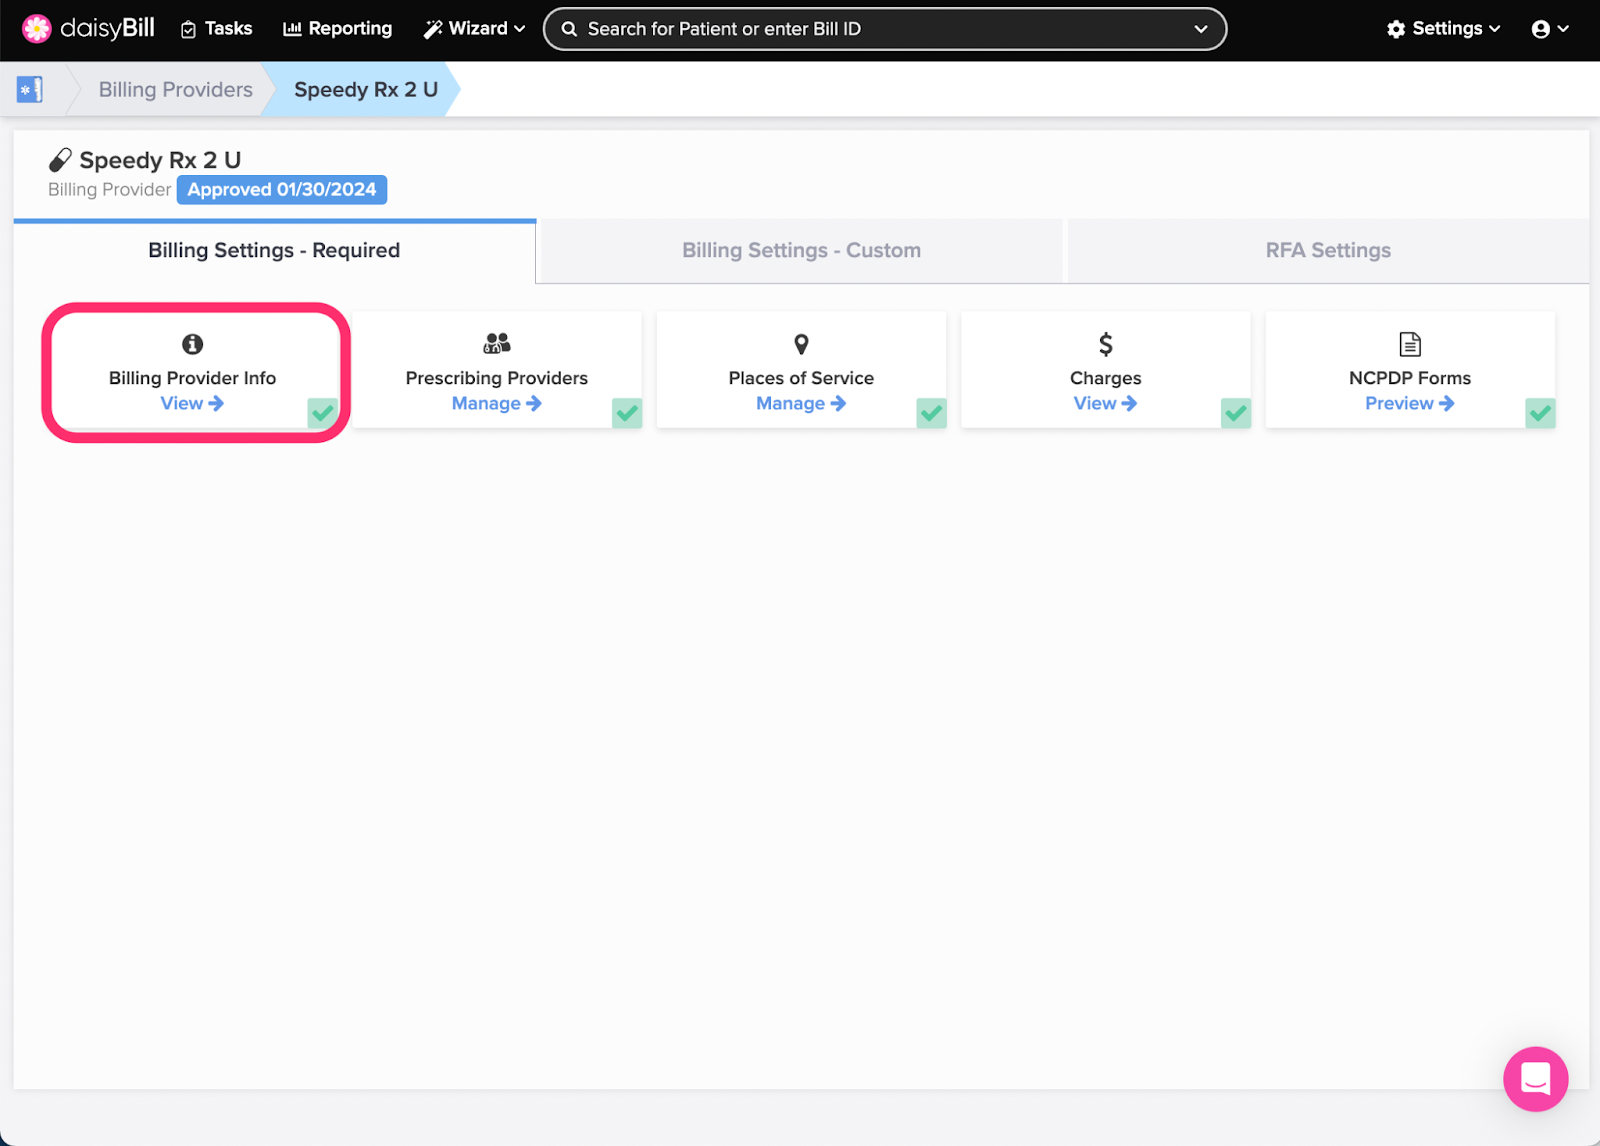
Step 2. Click the ‘Billing Provider Info’ card
A green ‘Checkmark’ icon in the lower right corner of the card indicates Billing Provider Information has been completed for the Billing Provider. A red ‘X’ icon indicates Billing Provider Information has not been completed.
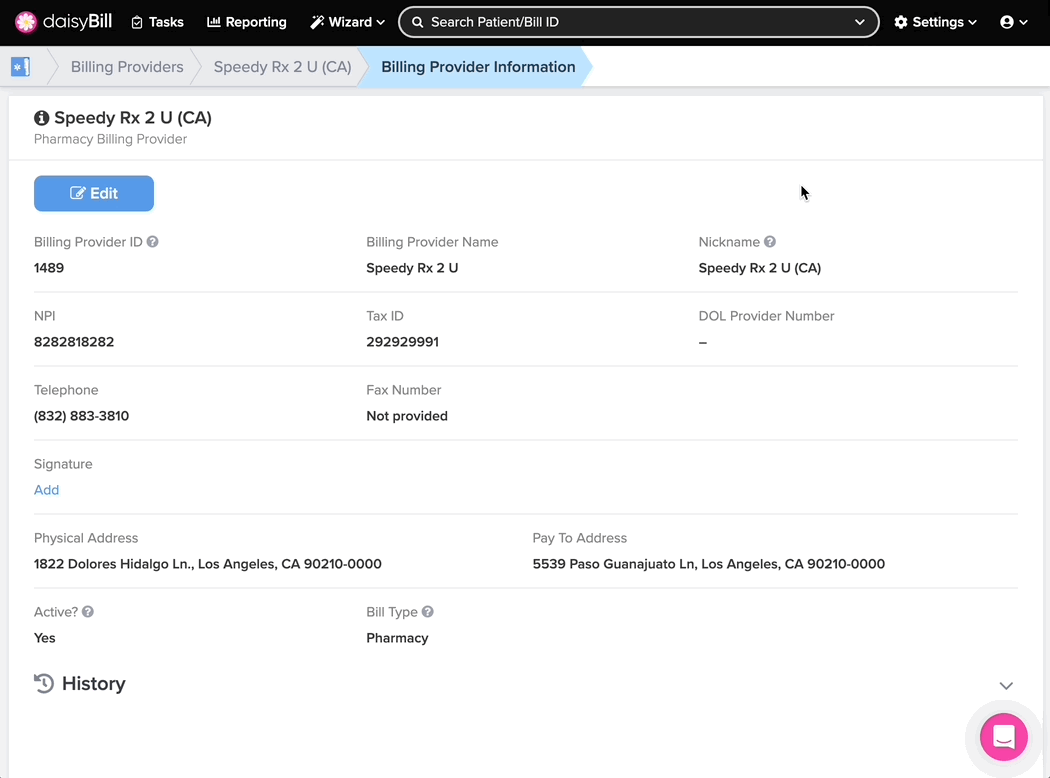
Step 3. Click ‘Add’ and draw a signature with your mouse, then click the ‘Save’ button
Easy as pie!