View Other Articles
Need to add a signature to an existing Rendering Provider in your daisyBill account? There are two ways to do it.
Email the signature in any file format to support@daisybill.com. Once daisyBill formats and uploads it, you will receive a confirmation email.
Or, follow the steps below to add a Rendering Provider’s signature directly in daisyBill.
Step 1. On the navigation bar, click ‘Settings’, then click the name of the Billing Provider
This navigates directly to the selected Billing Provider.
Step 2. Click the ‘Rendering Providers’ tab
Step 3. Click the applicable Rendering Provider ‘Name’
To add a new Rendering Provider, see the Help Article: Rendering Providers. This article includes instructions for uploading a signature (.png) to a new Rendering Provider.
Step 4. Click ‘Add Signature’, draw a signature with your mouse, then click ‘Save’ 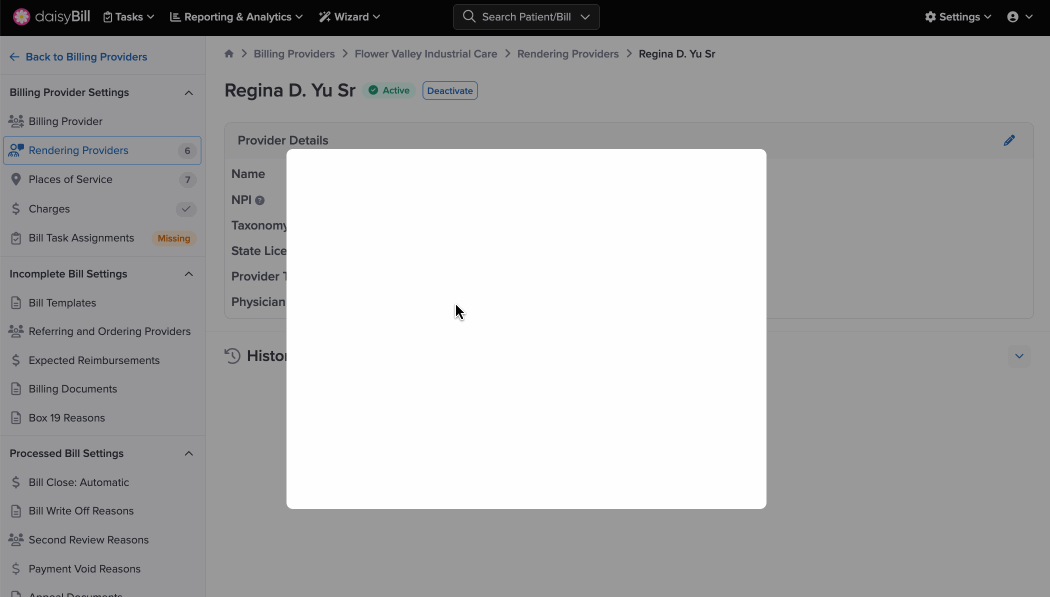
Easy as pie!