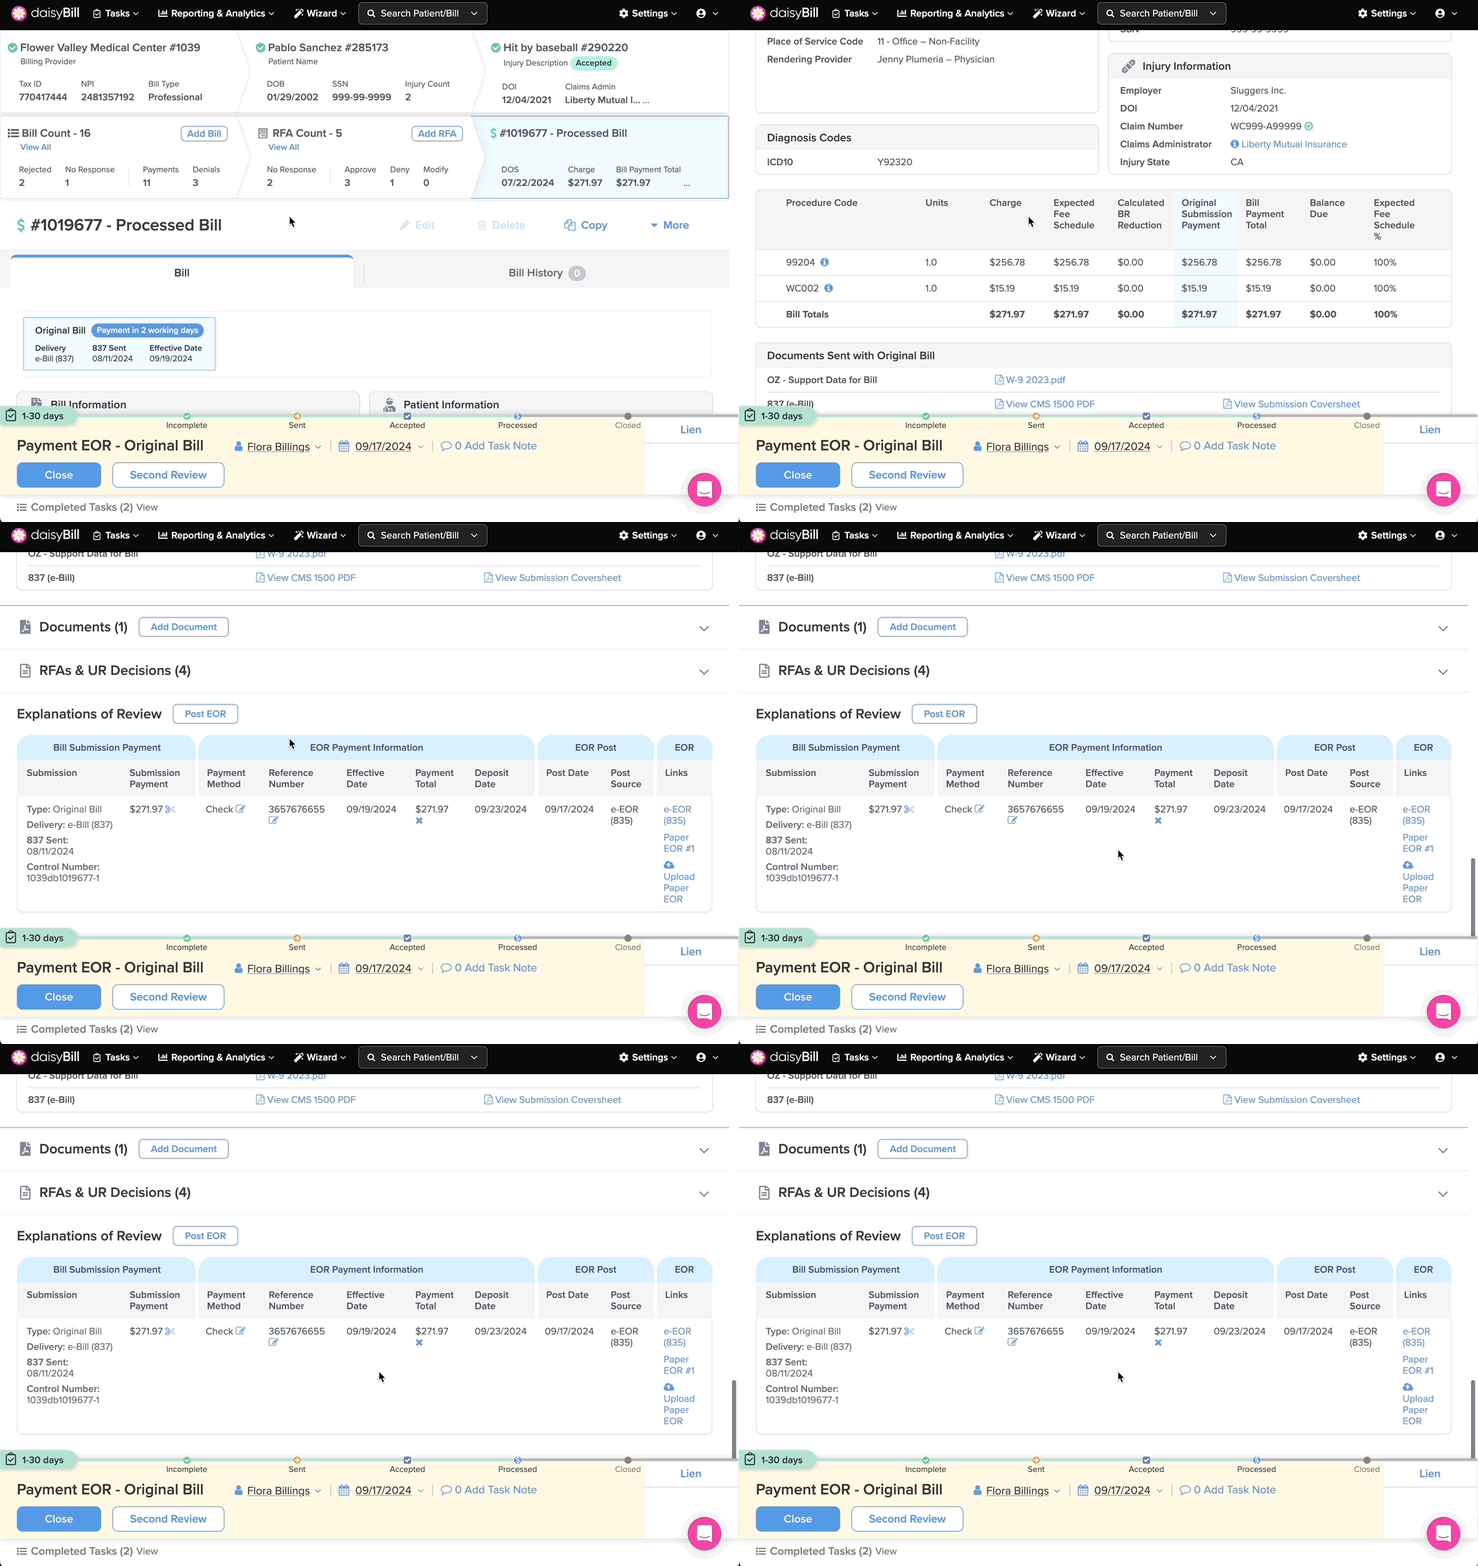
The Explanations of Review Posted section of a bill helps you keep track of Explanations of Review (EORs) received from Claims Administrators.
The Explanations of Review Posted section consists of Bill Submission Payment, EOR Payment Information and the Explanation of Review sections. The Bill Submission Payment section shows the specific payment amount applied to a specific submission of a Bill. EOR Payment Information displays payment information data such as the total Amount of the payment and Reference Number. The Explanation of Review section displays links to view EORs.
The Explanations of Review Posted section lets you:
A. View the Bill Submission Details to which the EOR is Posted
B. View the Payment Amount applied to the Bill Submission
C. Click the ‘Scissors’ icon to report a Discount Contract
E. View the Reference Number of the Payment
F. View the Effective Date of the payment
G. View the Amount of the Payment
H. To Void a Payment, Click the ‘X’ Icon
I. Add / View Deposit Date of the Payment
J. View the date the EOR was Posted
Step 1. To view bill payments, scroll down to the ‘Explanations of Review Posted’ section on the ‘Bill Page’
A. View the Bill Submission Payment Details to which the EOR is Posted
Details include the Type of bill submission, the date it was Sent, the Delivery method, and the Control Number.
The Control Number displays the unique control number transmitted with the bill submission in box 26 of the CMS1500 (or equivalent electronic field), and is often included on the paper EOR returned by the claims administrator.
The standard daisyBill Patient Control Number is in the format 9999db999999-9 and breaks down as follows:
- The 3-4 digits before the ‘db’ are unique to the Billing Provider. All bills submitted from the same Billing Provider will have the same prefix.
- The letters ‘db’ stand for daisyBill
- The 6-7 numbers after the ‘db’ identify the specific daisyBill Bill ID. You can plug this number directly into the search box in the Navigation Bar in daisyBill to be taken directly to the Bill.
- The number after the dash represents the bill submission number. The first submission of a bill would be -1, the second submission -2, etc.
B. View the Payment amount applied to the Bill Submission
This is the Amount of the posting that is being applied to this Bill Submission.
C. Click the ‘Scissors’ icon to report a Discount Contract
For more information, see the Help Article: Report / Edit / Delete Discount Contract.
D. View the Payment Method
Payment Method displays how a payment was received: Check, EFT, Credit Card. This is an optional field. To edit the Payment Method, click on the icon.
E. View the Reference Number of the Payment
Depending on the Payment Method, the Reference Number can be a Check Number, an EFT Transaction Number, or a Credit Card Transaction Number. To edit the Reference Number, click on the icon.
F. View the Effective Date of the payment
This is the date the payment was cut, or for $0 payments, the date of the EOR.
G. View the Amount of the Payment
This is the total amount of the Payment Method that was issued. If a bulk payment (a payment paying more than one bill) was issued, this number will be greater than the Bill Submission Payment Amount (B above).
H. To Void a Payment, Click the ‘X’ Icon
Only users with the Role of Administrator can void a payment. For more information, see the Help Article: Void Posted Payment.
Once voided, the EOR will display the void reason.
I. Add / View Deposit Date of the Payment
When a date is present, this is the user-entered date of Deposit of this payment. If no date is present, a blue Add link is displayed. Click the Add link to enter the date of deposit for the payment and complete the Deposit Payment task if created. For more information, see the Help Article: Task: Deposit Payment.
J. View the date the EOR was Posted
This is the date daisyBill received this EOR information. When the Source is e-EOR (835), this is the date daisyBill received the electronic EOR. When the Source is Paper, this date is the date a user posted the EOR.
K. View the Post Source
The Post Source indicates how the EOR information was received.
e-EOR (835) indicates EOR information was returned directly back from the claims administrator via 835
Paper EOR indicates EOR information was posted by a user from a paper EOR
L. View the Electronic EOR
When present, click the blue e-EOR (835) link to view the electronic EOR.
M. Upload Paper EOR
Best practice is to always upload paper EORs. For more information, see the Help Article: Upload / View / Delete Paper EOR.
N. View Paper EOR
Click the corresponding Paper EOR link to view the EOR in a new tab in your browser.
Now that you’re familiar with Explanations of Review Posted, onward with beautiful billing!


