The Task Sidebar helps you quickly navigate through a set of filtered and sorted Tasks. Once you complete a task, it disappears from the Task Sidebar.
Here’s how it works:
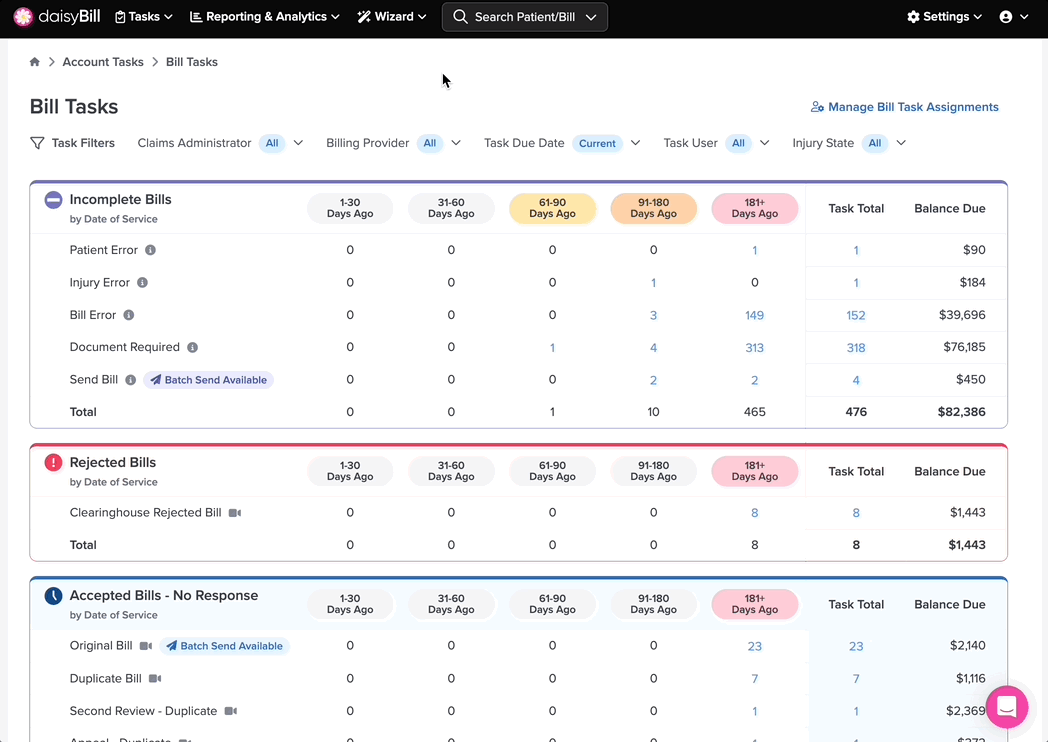
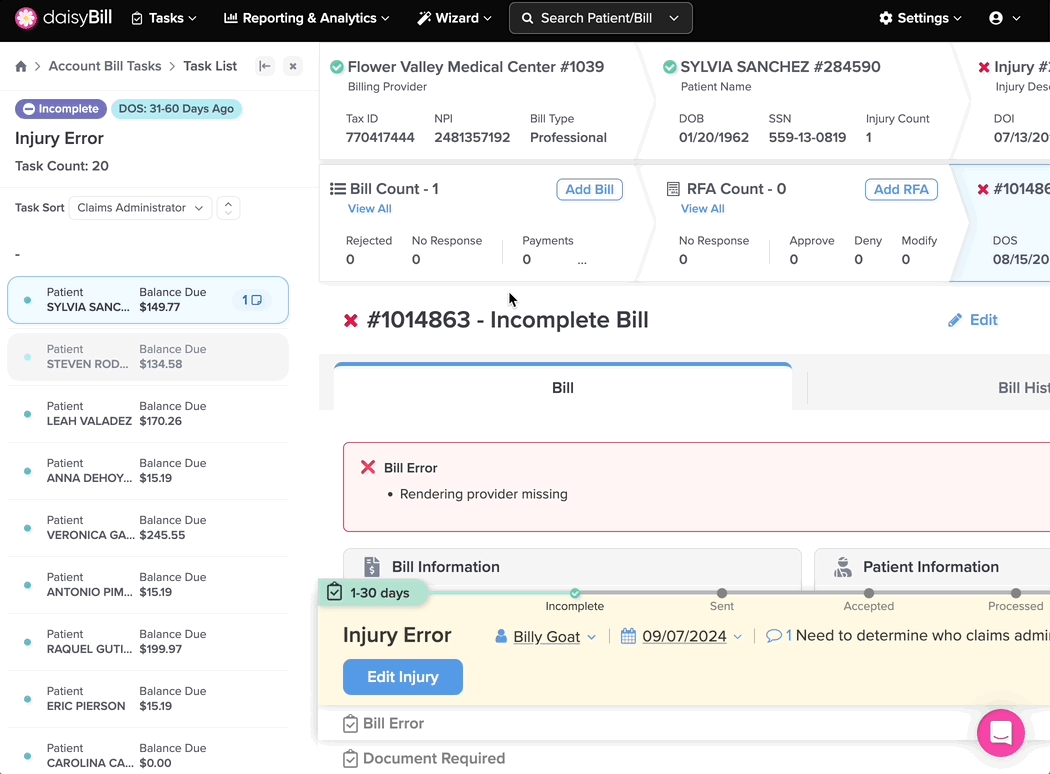
Step 1. To open the ‘Task Sidebar’, first click ‘View’ on a task type
Step 2. Choose the tasks you’d like to add to the sidebar
Step 3. To sort the tasks, choose a ‘Task Sort’
Step 4. To Expand or Minimize the ‘Task Sidebar’, click the arrow icon
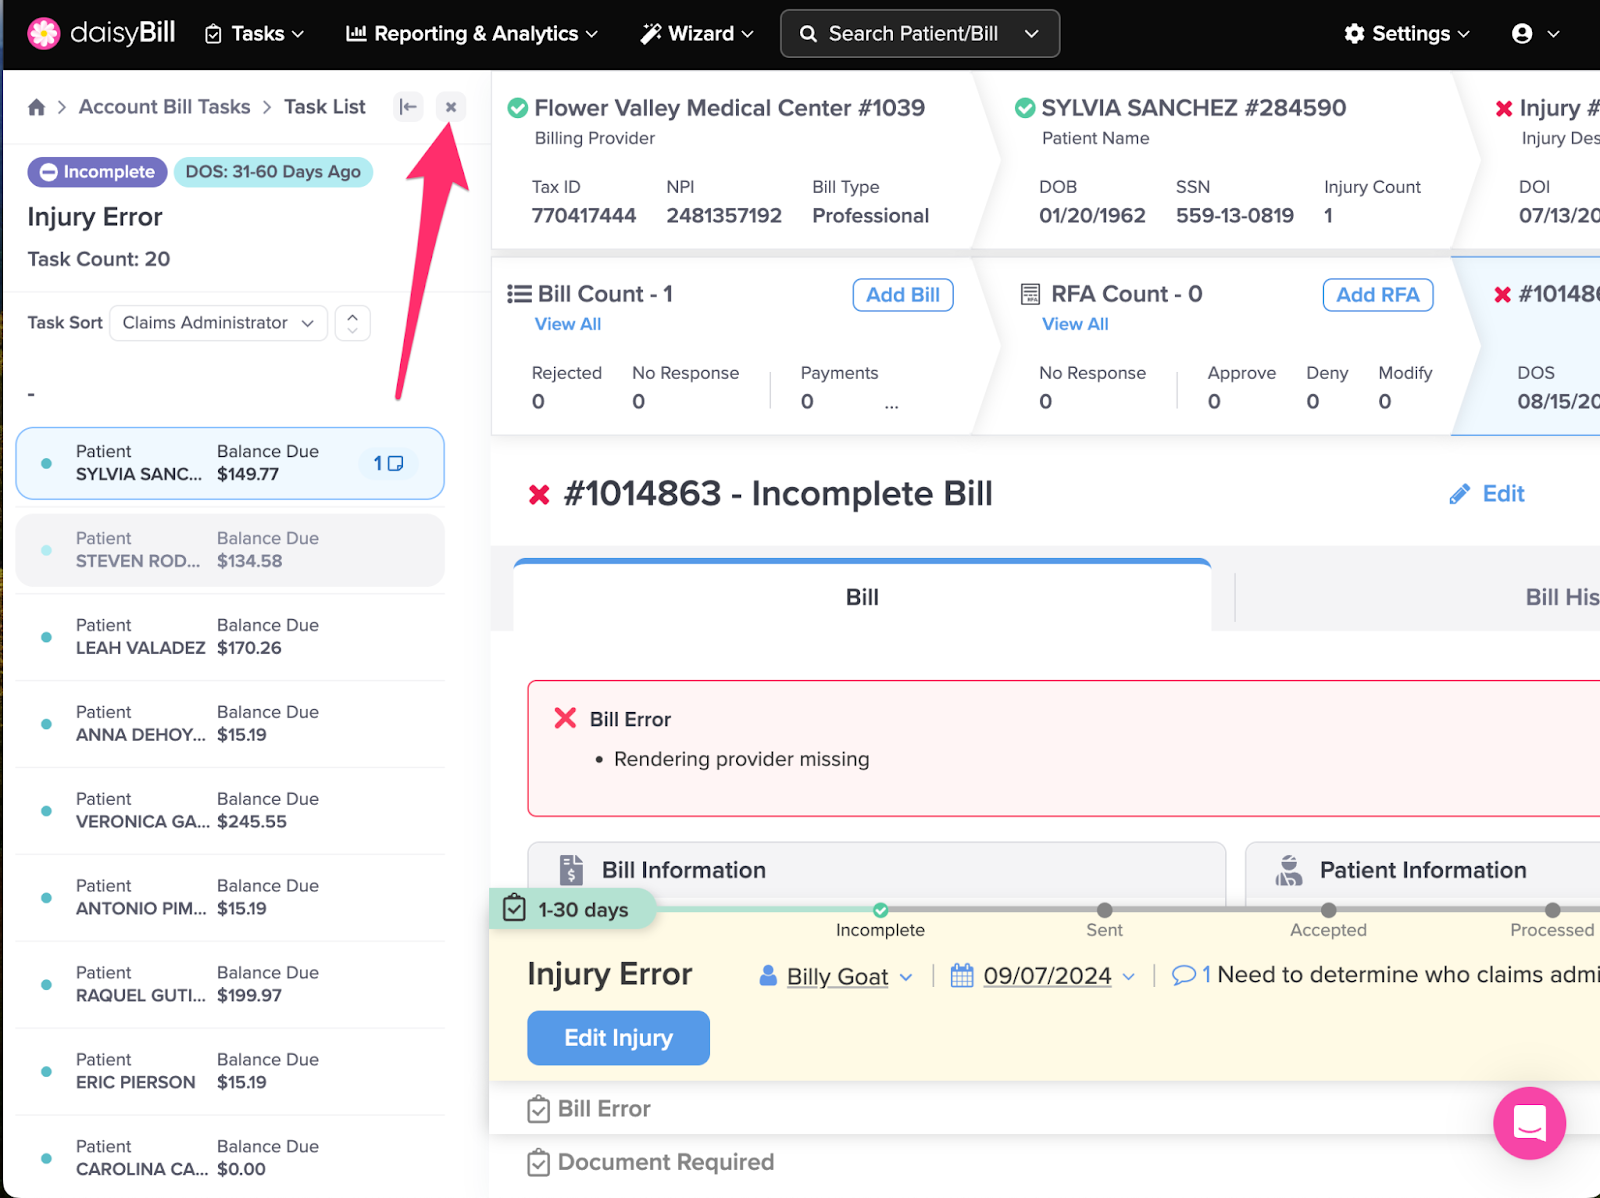
Step 5. To close the ‘Task Sidebar’, click the ‘X’
Step 1. Opening the Task Sidebar
To open the ‘Task Sidebar’, click ‘View’ on a task type. This will take you straight to your User tasks. User tasks reflect tasks assigned to you
Step 2. Adding Tasks
Clicking the number under the Task Due Date Bucket will open a menu. Select the ‘View Tasks’ option from the ‘Task Actions’ section to add it to your sidebar.
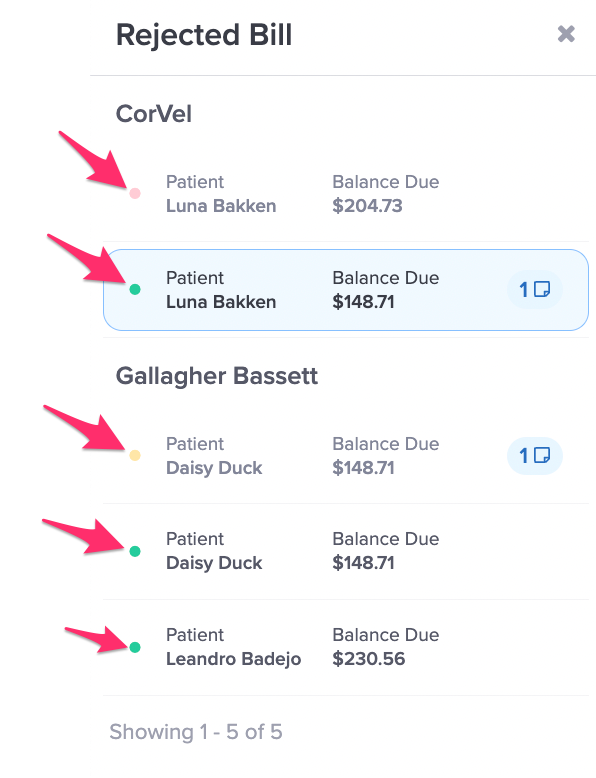
- A task with a grey background indicates the bill has been viewed. The bill will reset back to being unviewed at the end of the day.
- A task highlighted in blue indicates the bill you are currently viewing.
- A task with a white background and bold text indicates an unviewed bill.
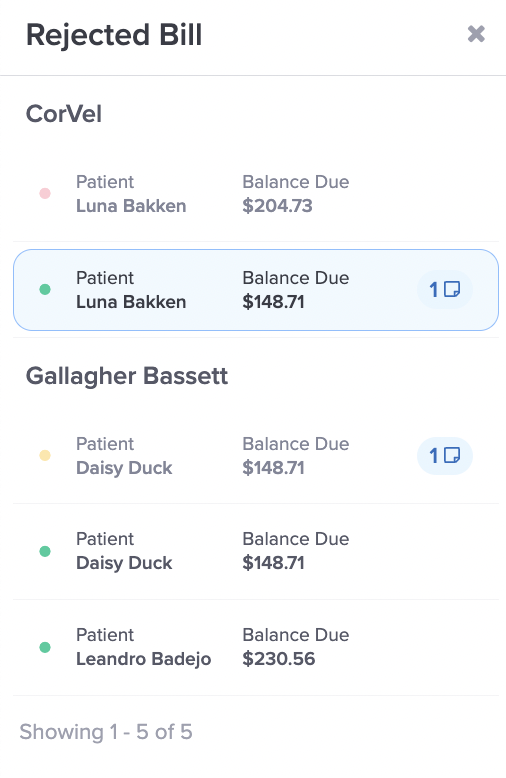
The number next to the Note icon indicates the number of Notes on the Bill.
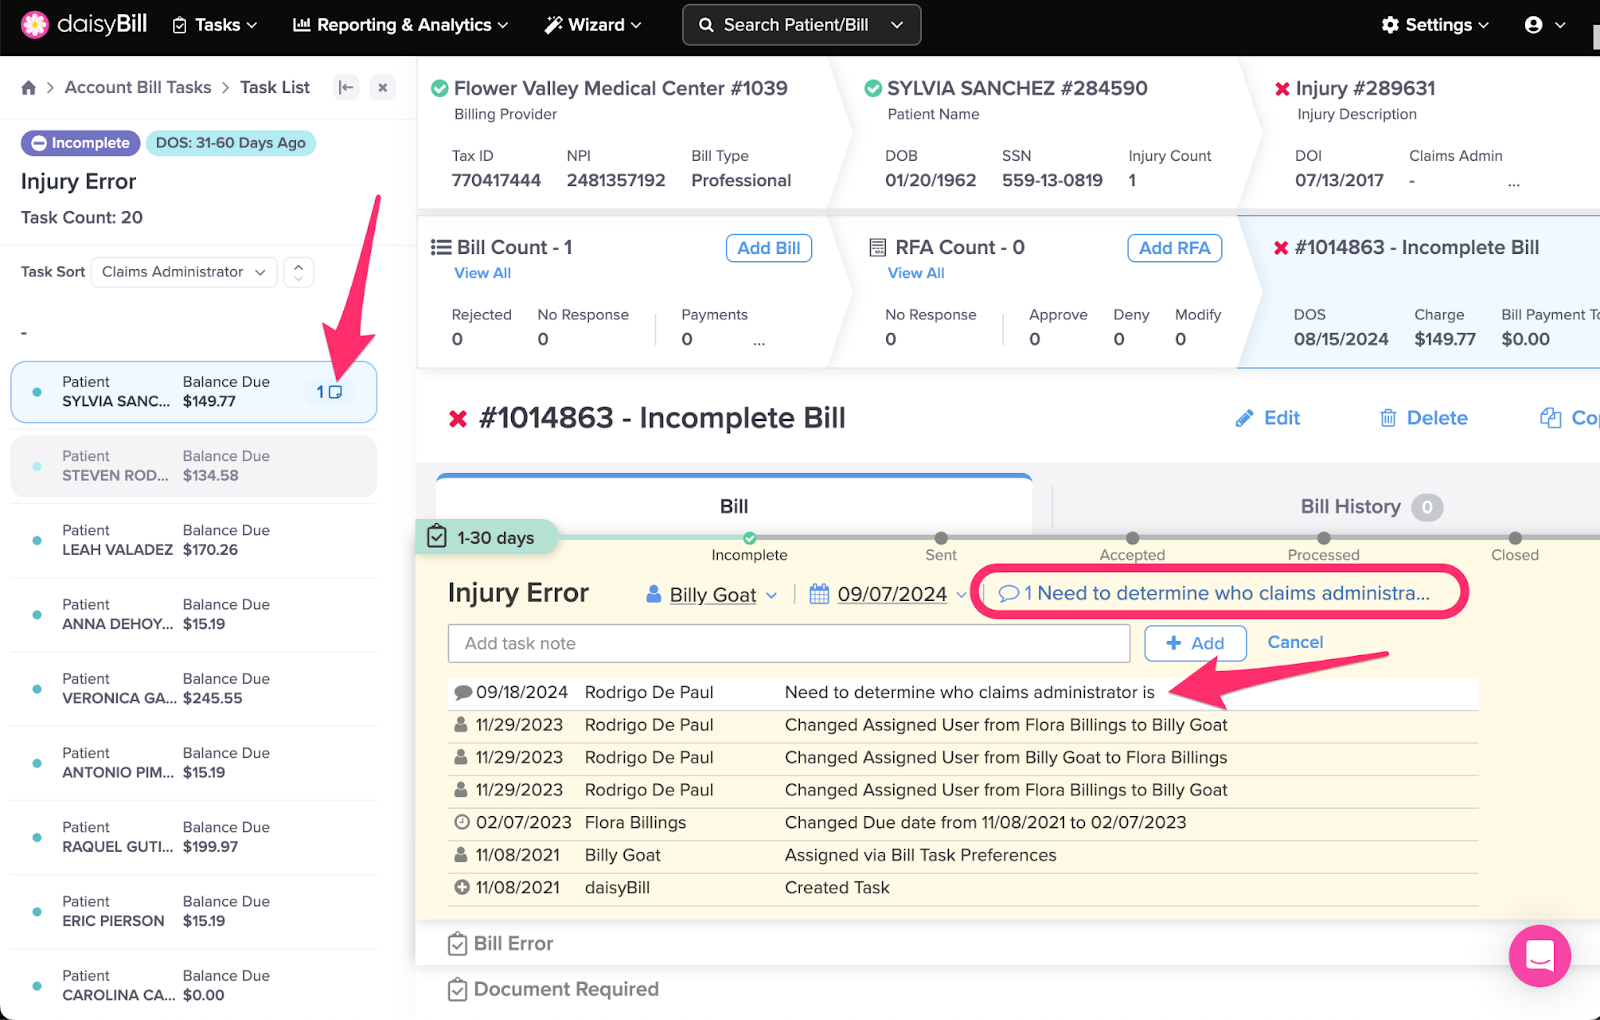
The color next to each bill indicates the age of the Task.
- Green indicates the Task was assigned less than 30 days ago.
- Yellow indicates the Task was assigned between 31 and 60 days ago.
- Red indicates the Task was assigned more than 61 days ago.
Your chosen tasks will remain loaded into the sidebar.
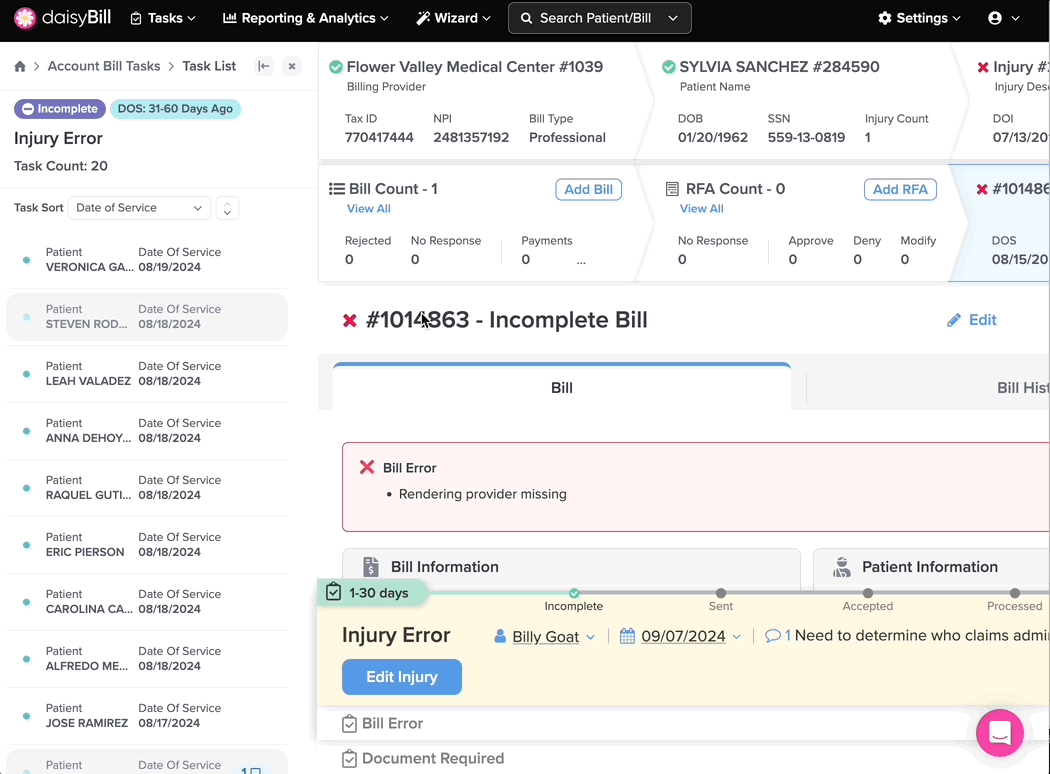
Step 3. To sort the tasks, choose a ‘Task Sort’
Click the Up/Down arrow to sort in ascending and descending order.
Step 4. To Expand or Minimize the ‘Task Sidebar’, click the arrow icon
Your chosen tasks will remain loaded into the sidebar.
Step 5. To close the ‘Task Sidebar’, click the ‘X’
Your chosen tasks will be removed from the sidebar.
Sorting through tasks is easy!