Webhooks are a way for you to subscribe to important events happening throughout daisyBill. These notifications take the form of an HTTP POST request to your application and include information about the event.
This provides you with an alternative to polling endpoints. For example, instead of continuously polling the patients endpoint to find out if a new patient was created, you can instead subscribe to the patient.created event and be notified when it happens.
Webhooks can be set up in conjunction with the daisyBill API, or on their own. Webhooks must be set up from within the daisyBill Interface.
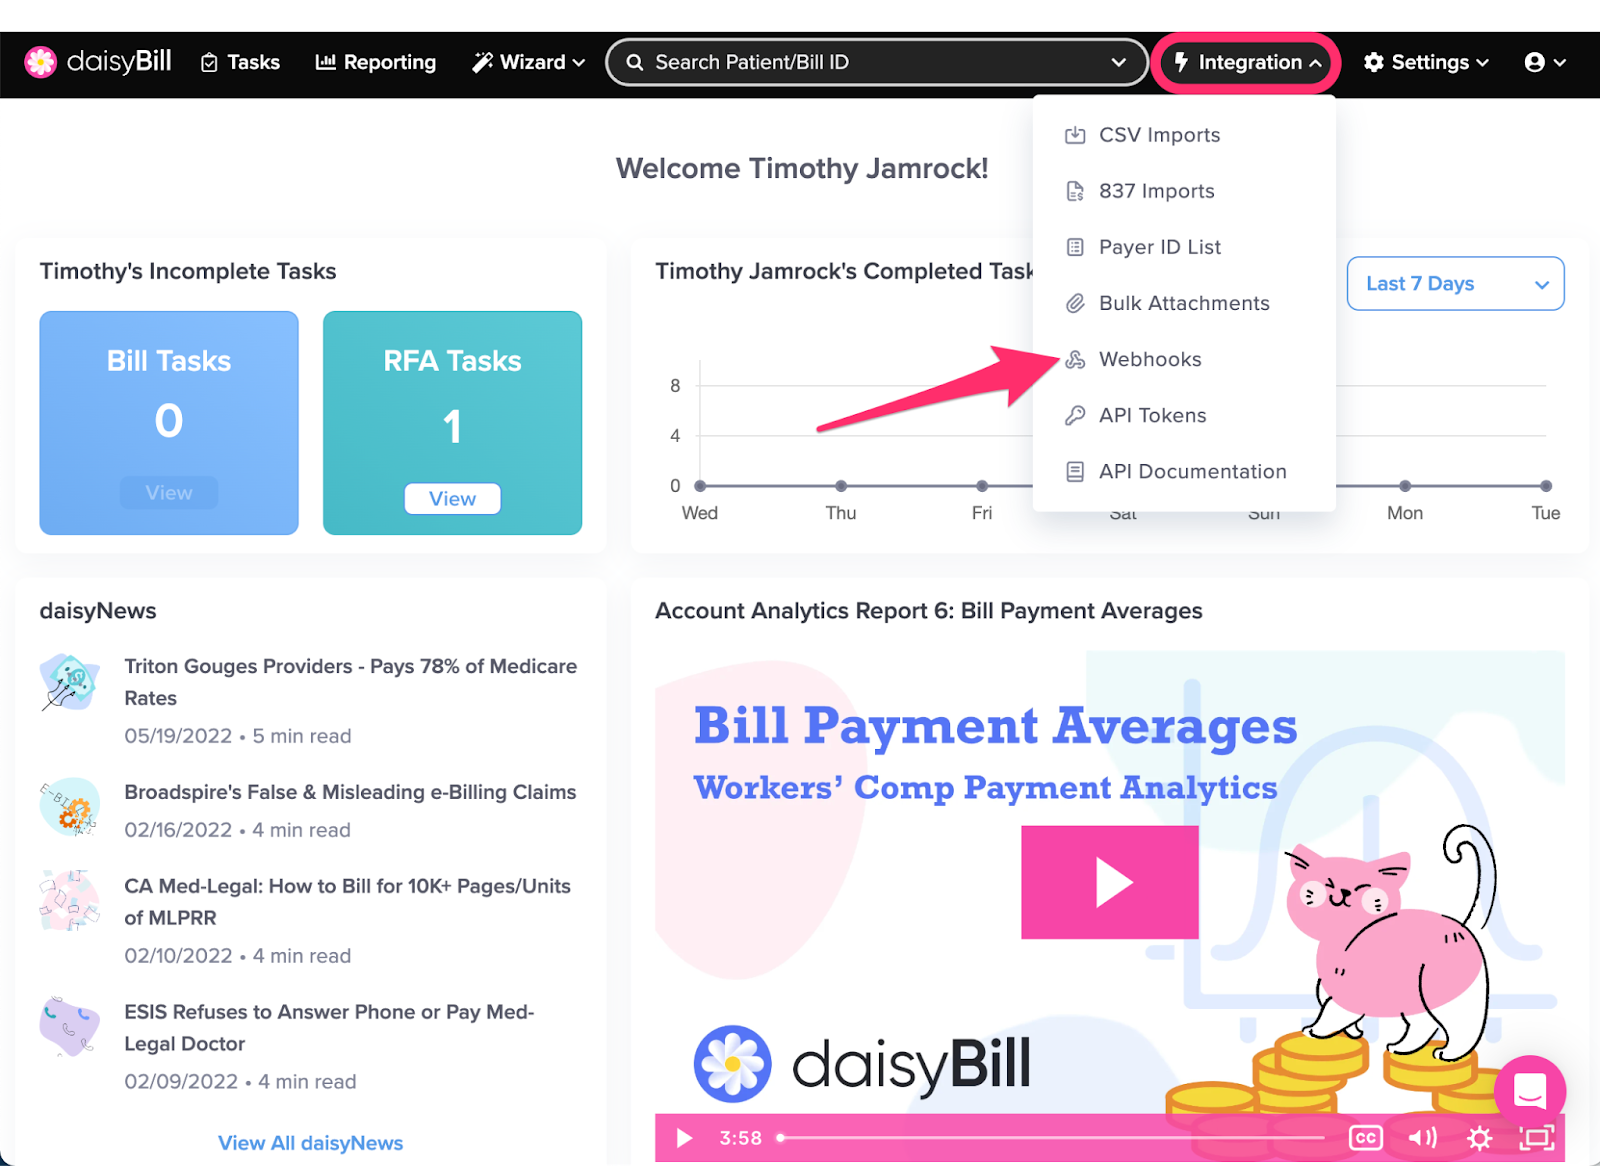
Step 1. Click the ‘Integration’ icon and select ‘Webhooks’
Only users with the role of Administrator can access Webhooks. If you are an administrator and don’t see the option for Webhooks, send a chat through the Help Center to request access be turned on for your account.
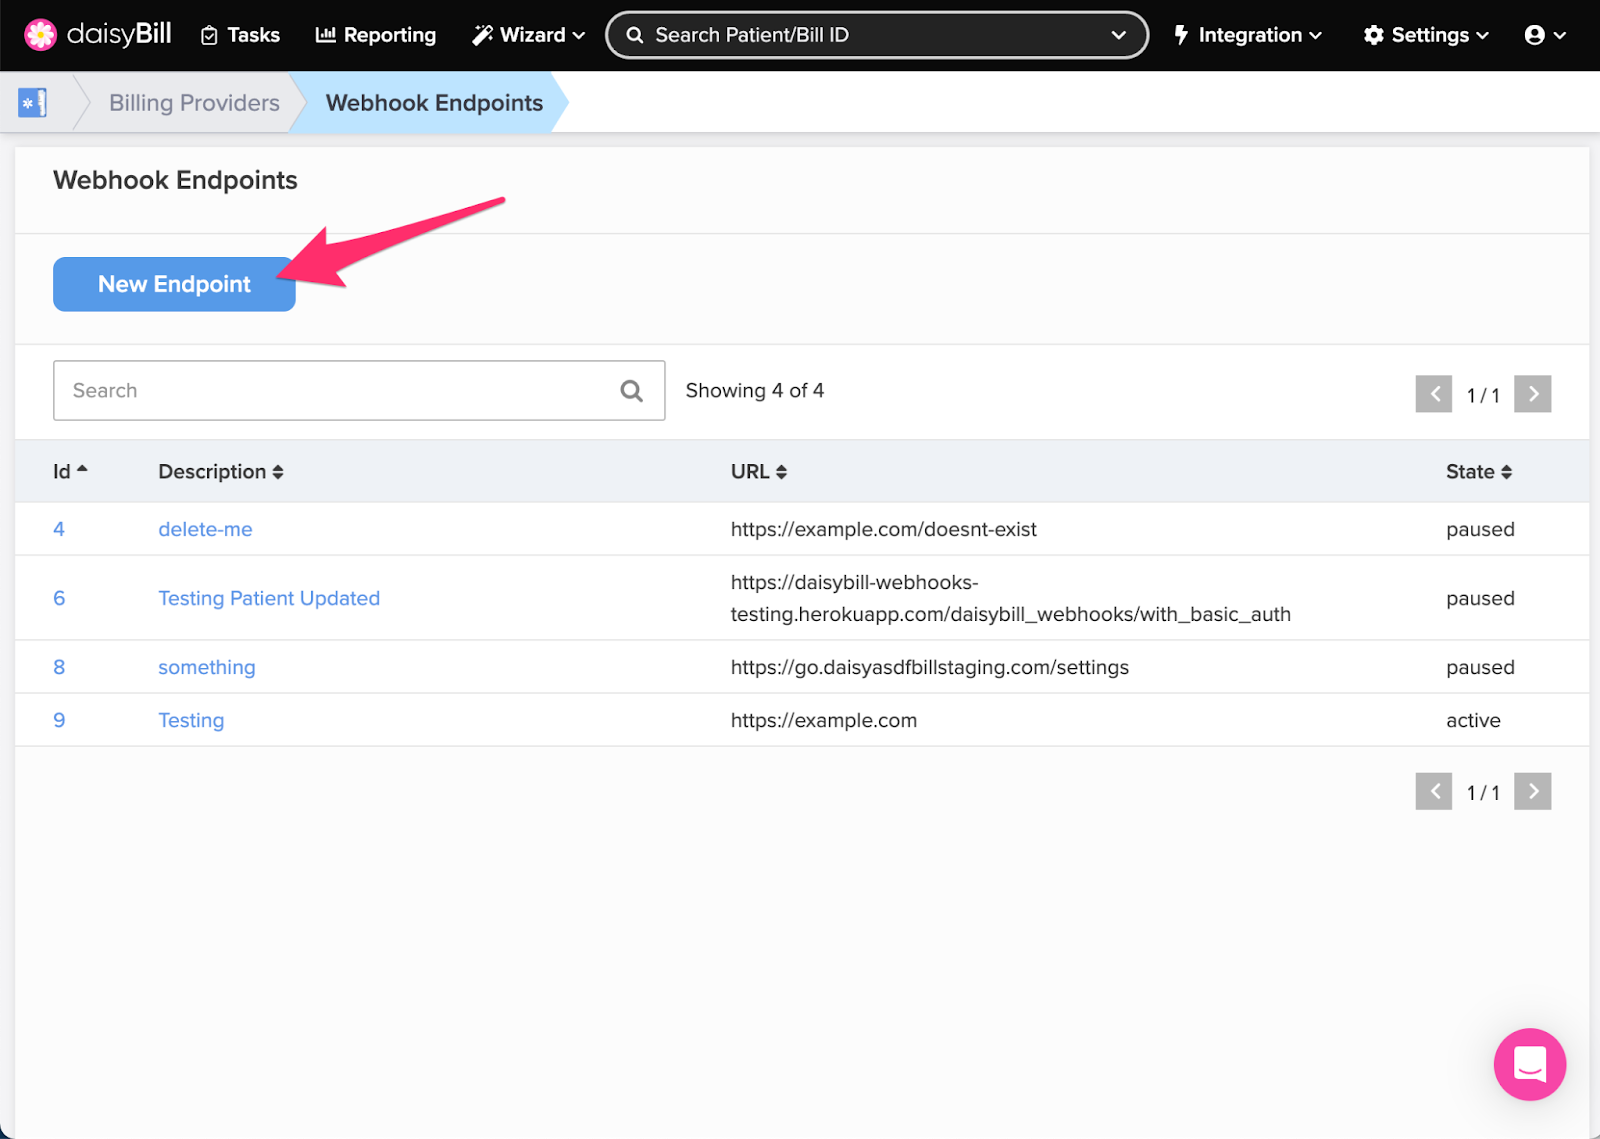
Step 2. Click ‘New Endpoint’
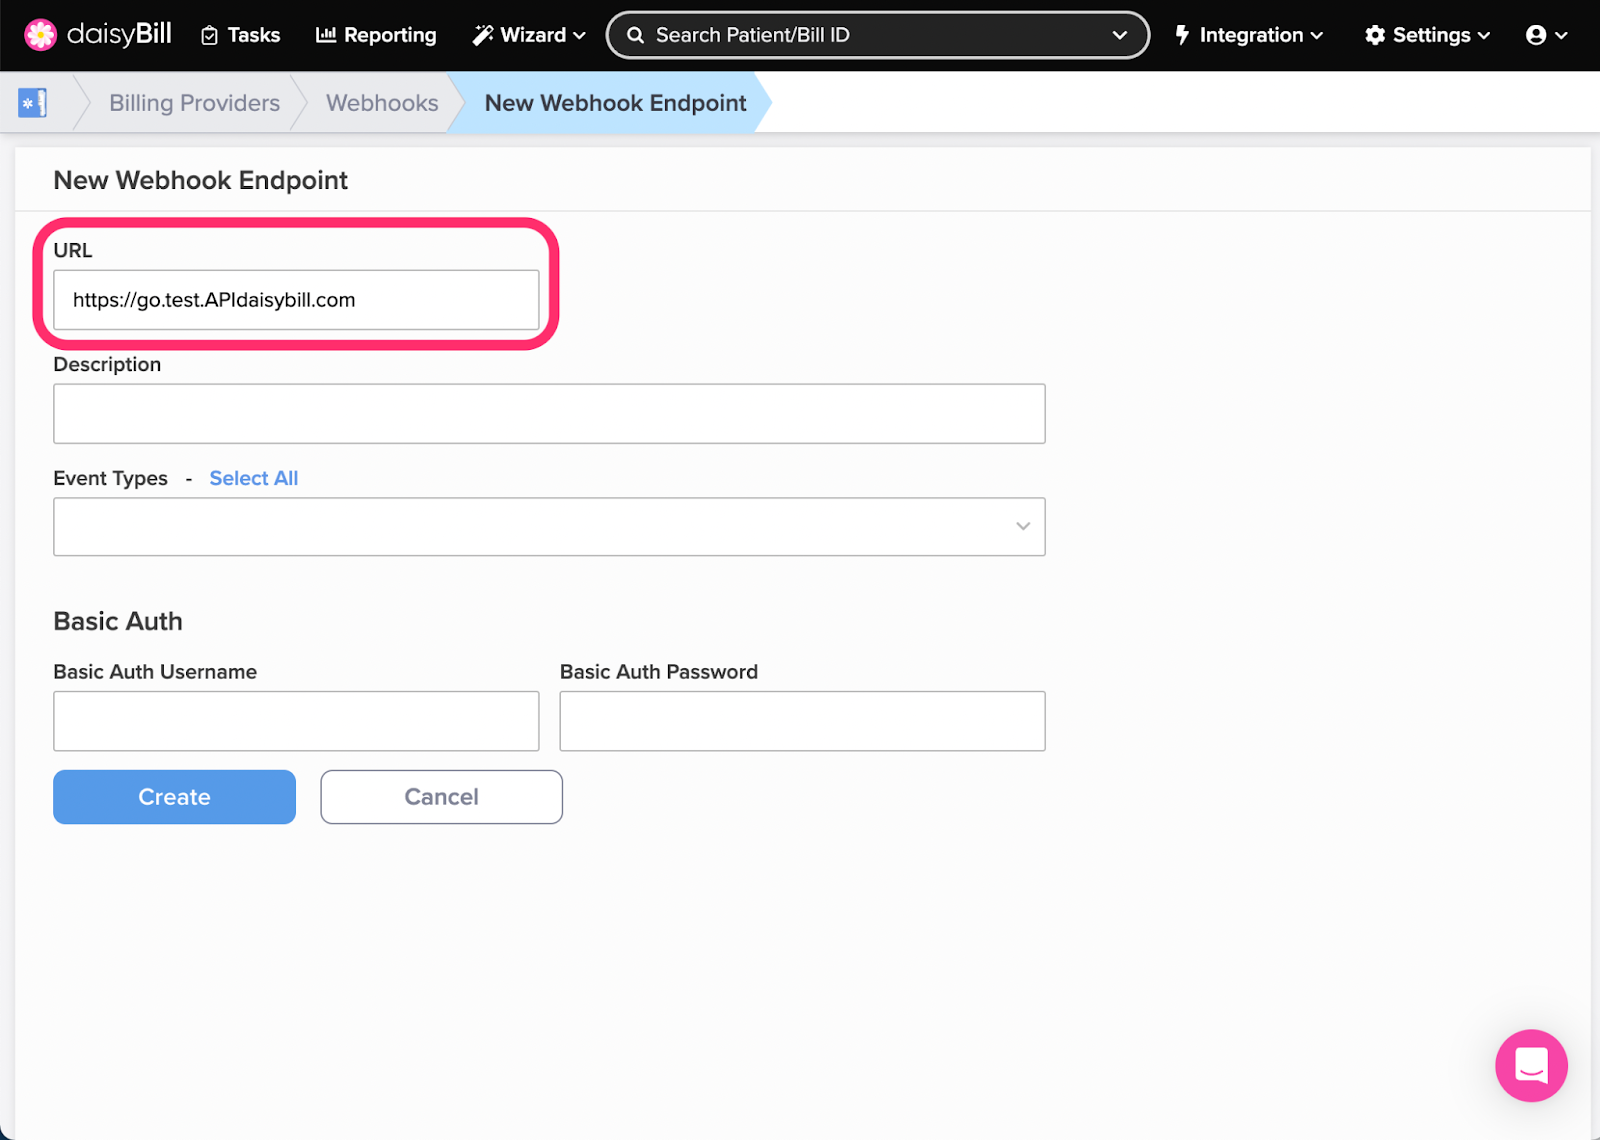
Step 3. Enter the ‘URL’ to deliver event updates to
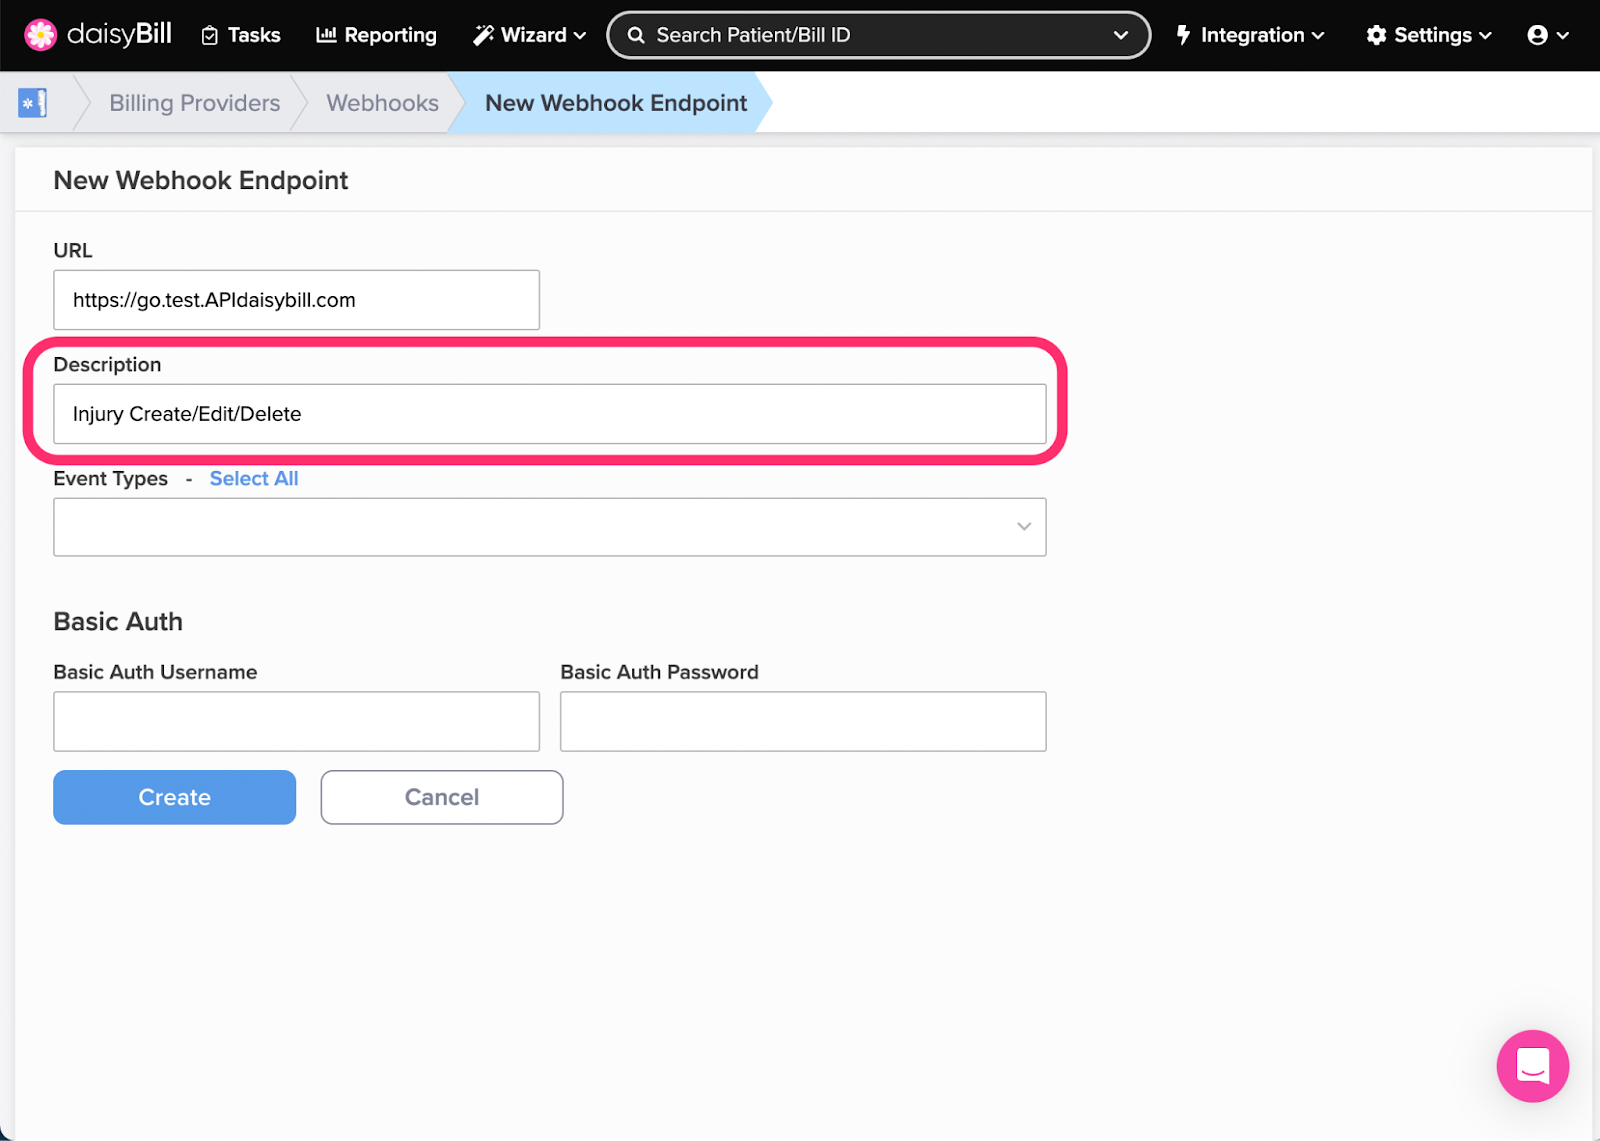
Step 4. Enter a ‘Description’ of the Webhook Endpoint being created
This description is just for your information and is displayed in the index of created Endpoints.
Step 5. Select one or more ‘Event Types’ to receives updates about
For more information about supported event types see developer documentation here.
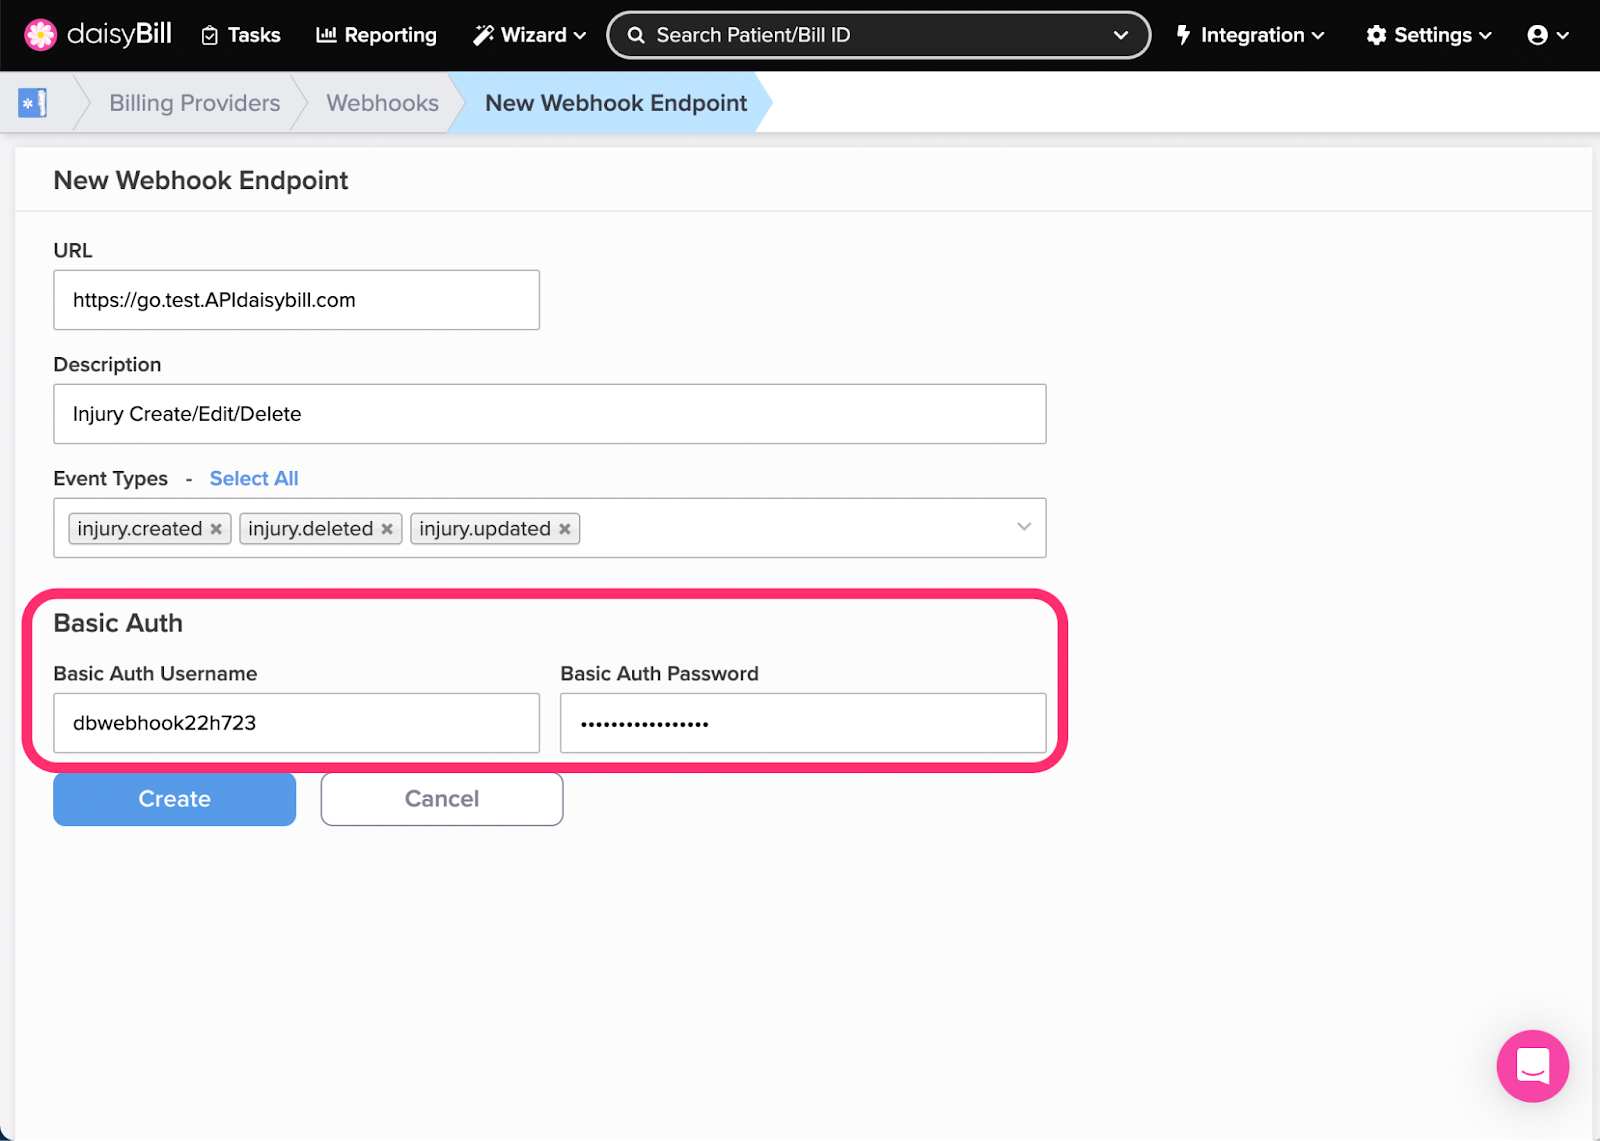
Step 6. Optional: Add ‘Basic Auth Username’ and ‘Basic Auth Password’
When data is sent to the configured endpoint daisyBill will include basic HTTP Authentication with each request. You can use this information to verify requests from daisyBill as an added level of security.
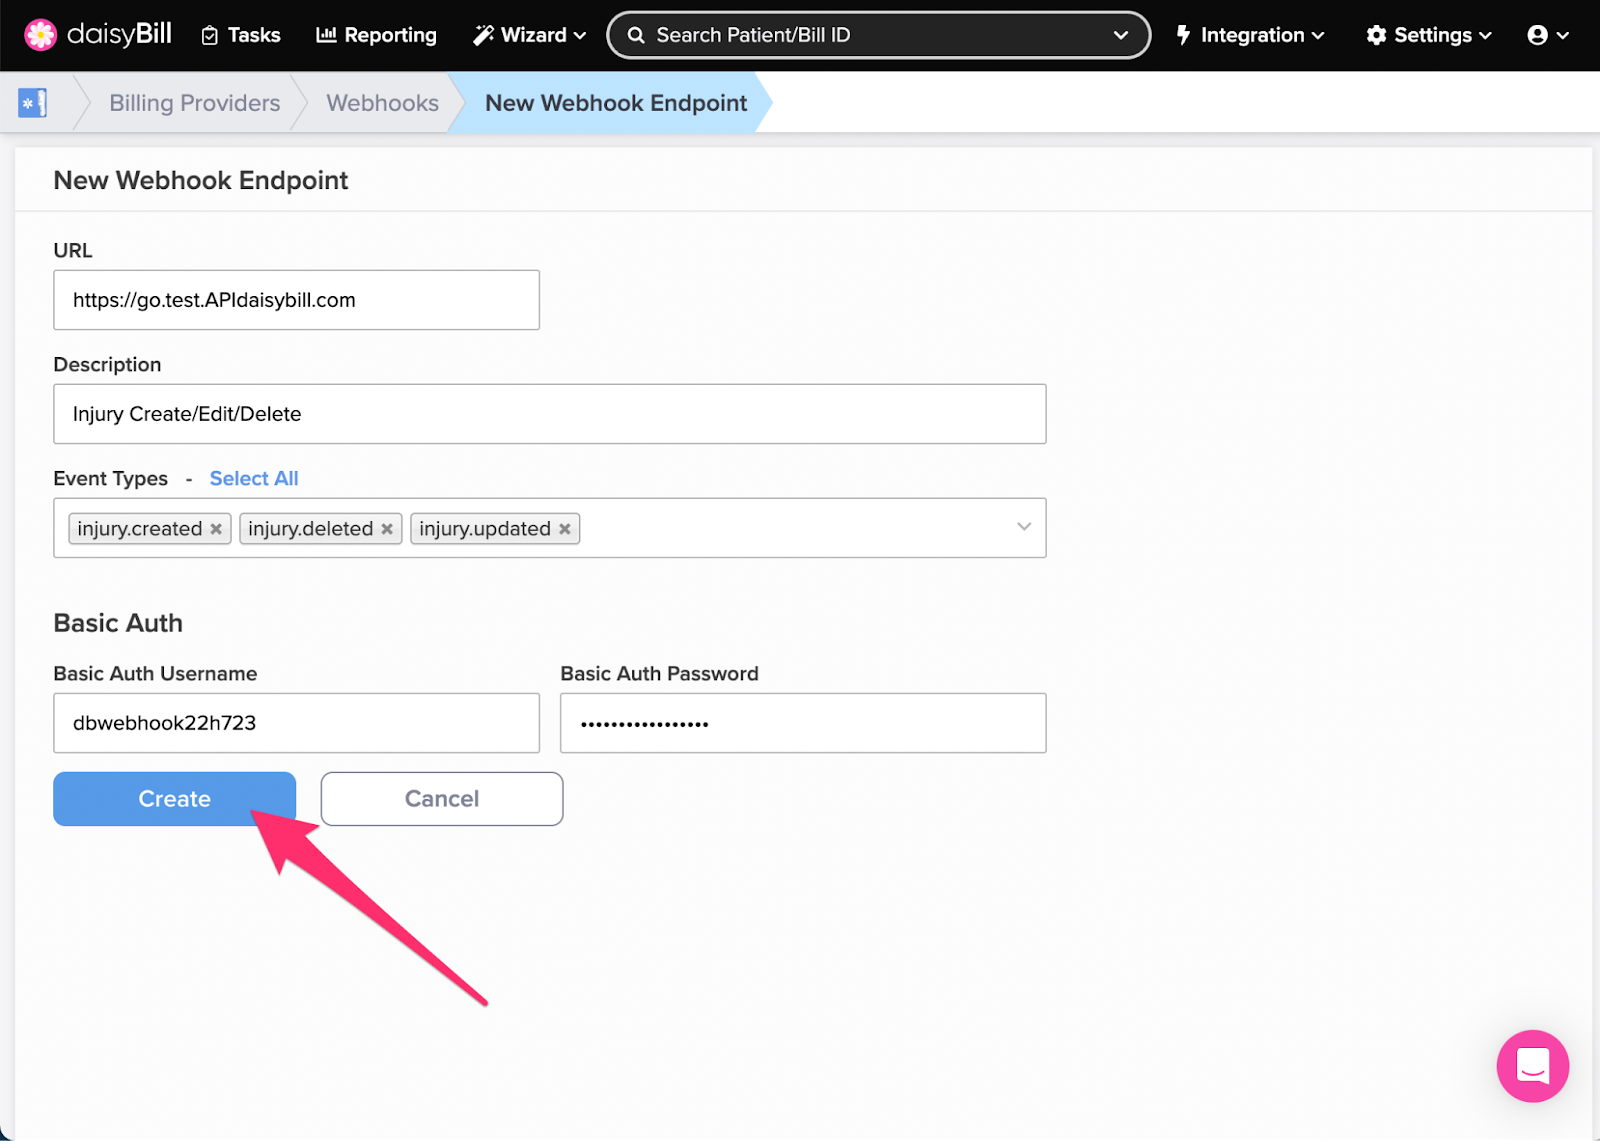
Step 7. Click ‘Create’
Once created, Endpoints can be edited, paused and deleted.
All set!