View Other Articles
Most of the time, a Bill isn’t enough by itself. California law often requires Documents to substantiate charges.
Here’s how to add, view, edit, and delete Supporting Documents.
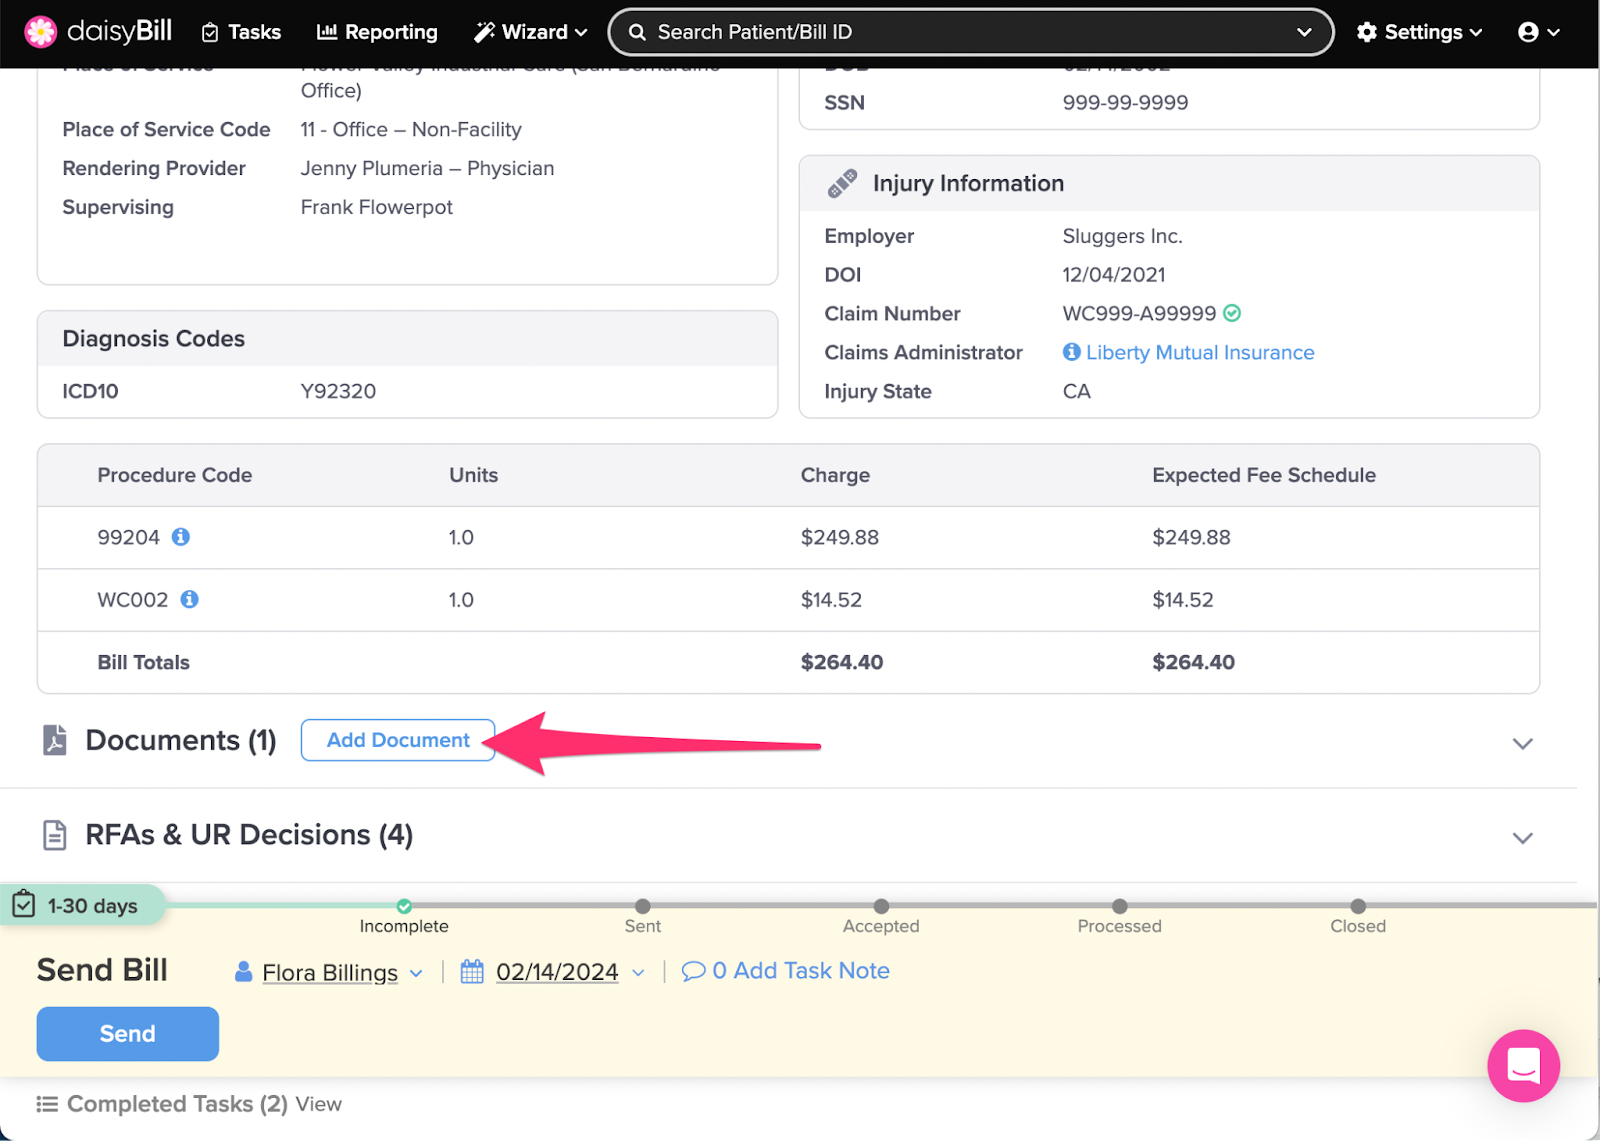
Step 1. From the Bill Page, click ‘Add Document’ next to ‘Documents’
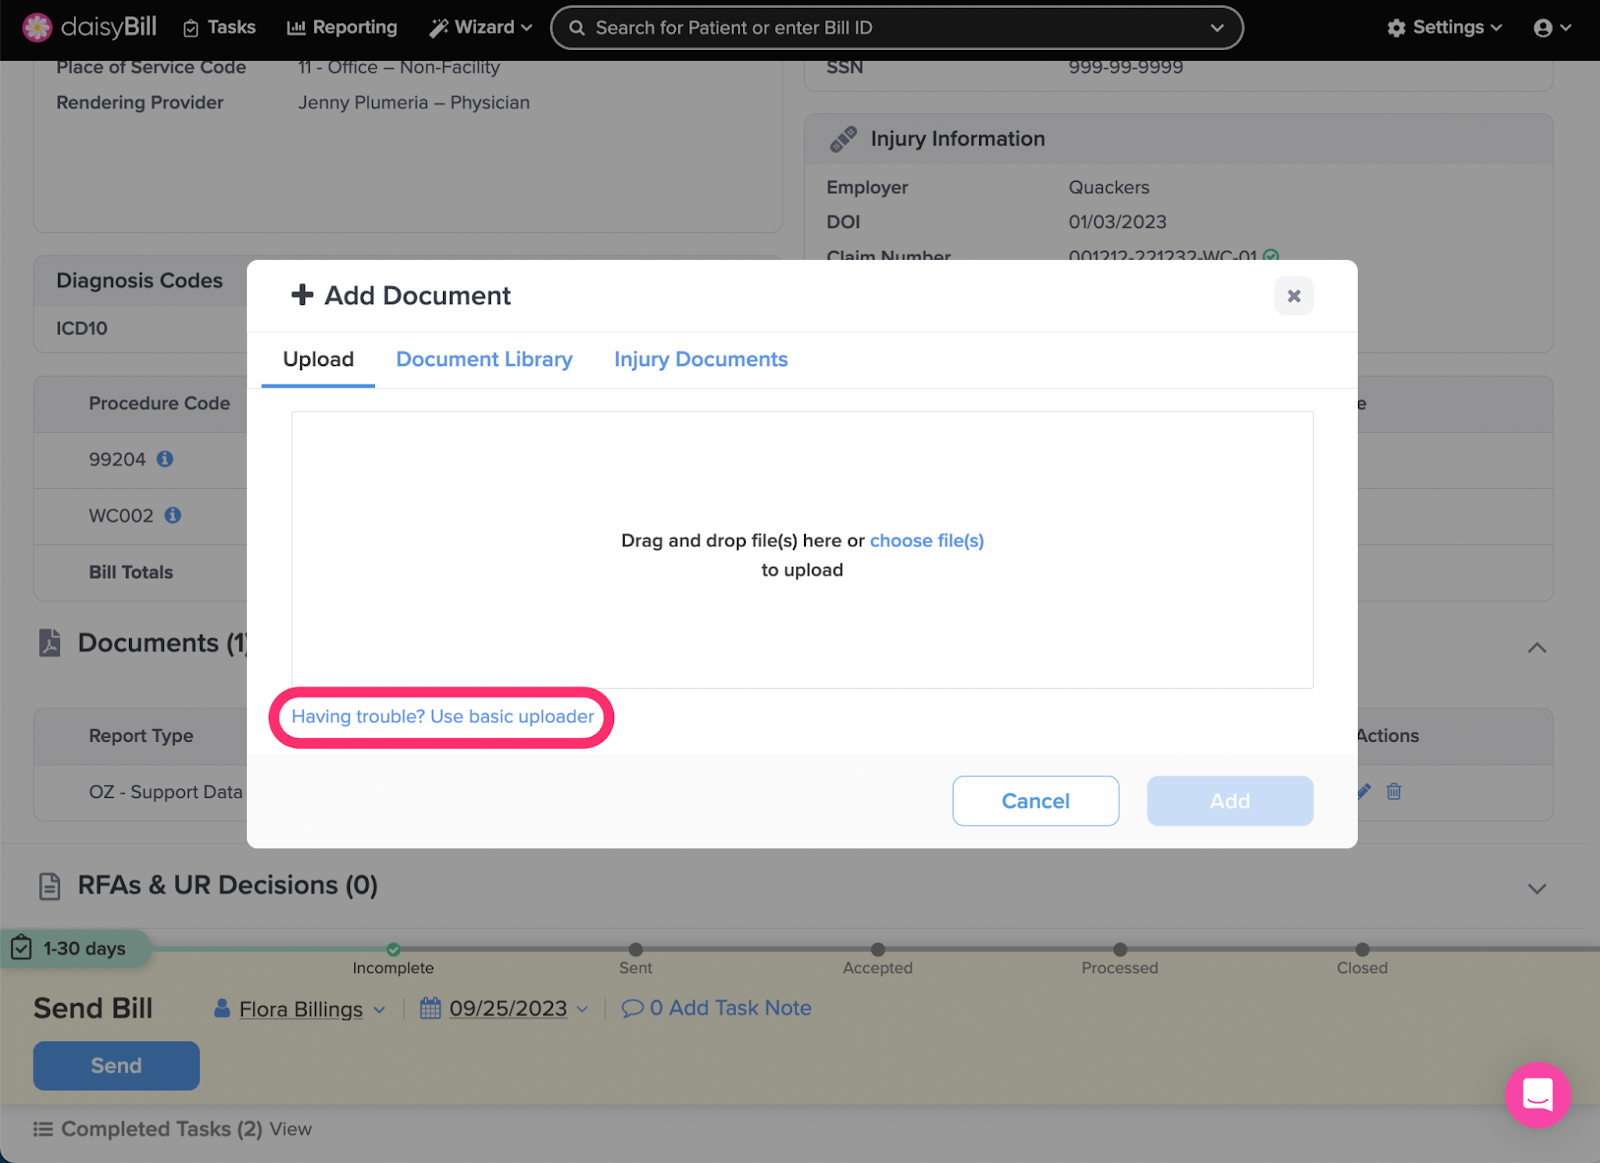
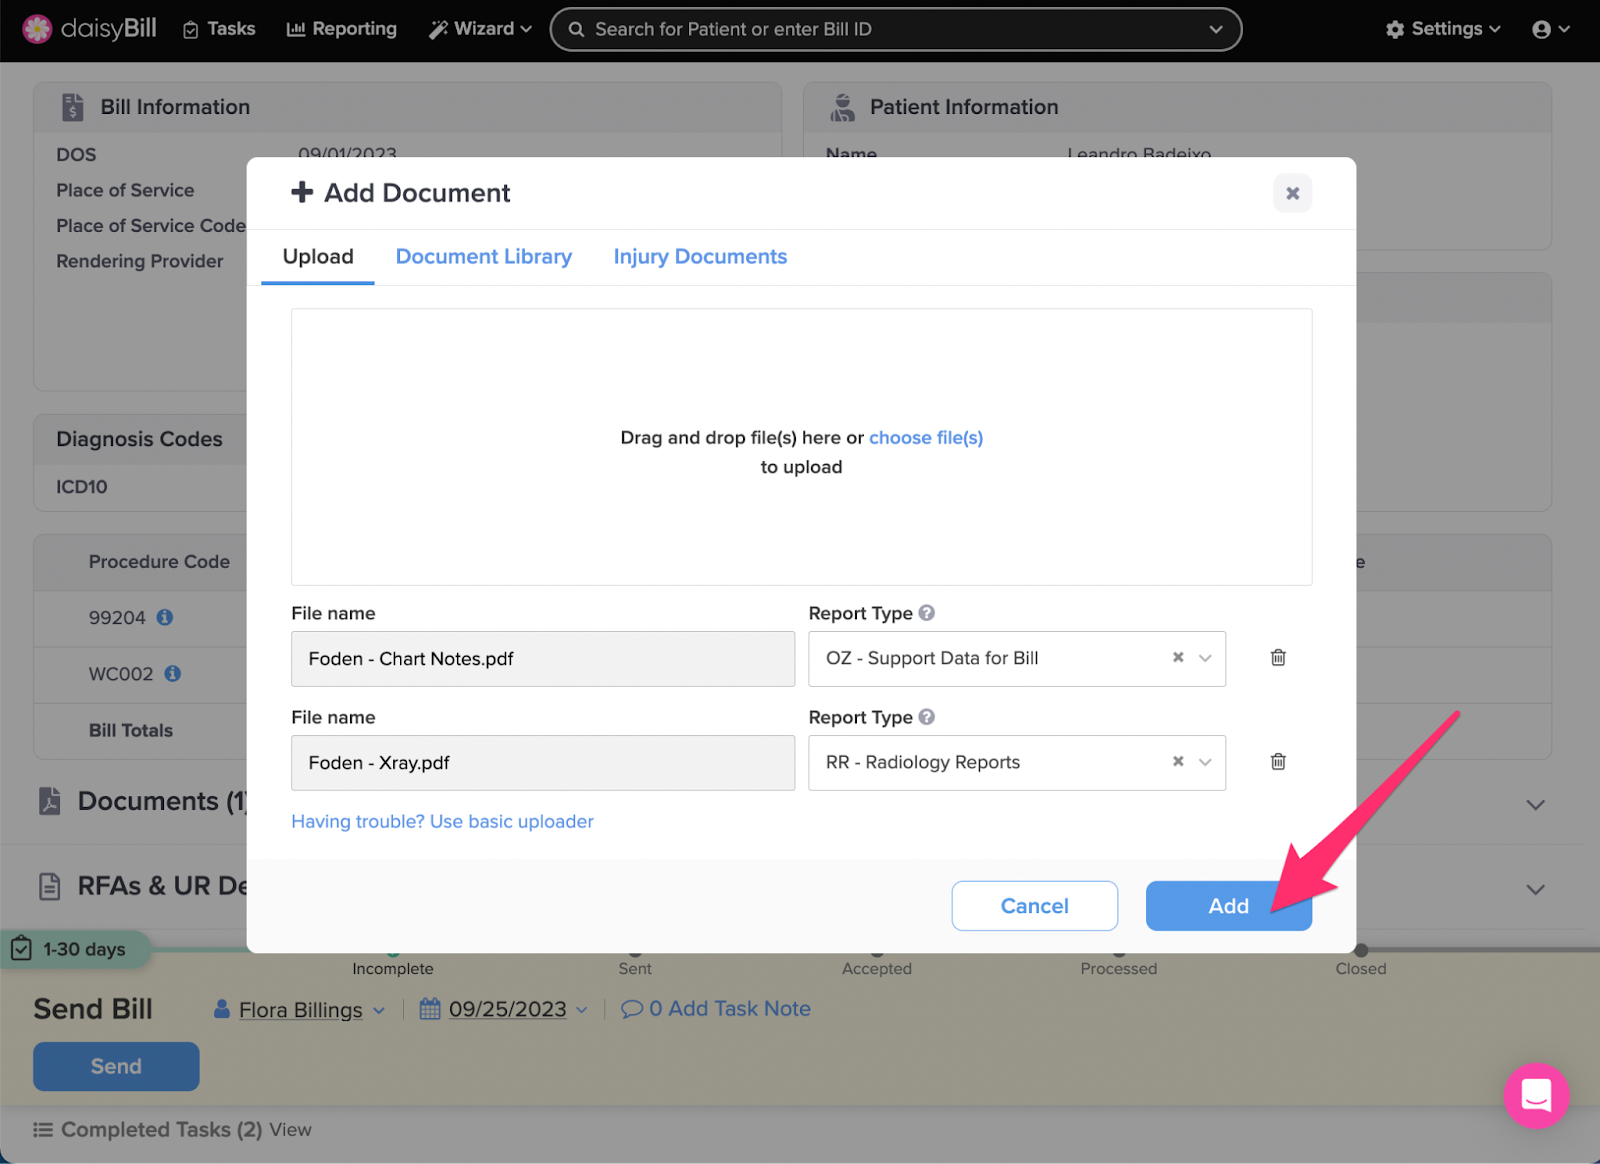
Step 2. Drag your file(s) to the box or click ‘choose file(s)’ to select file(s)
Documents MUST be in PDF format. The PDF file must be LESS THAN 15 MB.
A maximum of eight documents can be attached to each bill.
Note: If your file doesn’t upload, click ‘Having trouble? Use basic uploader.’
To add other document types, please see these Help Articles: Add from Document Library, Add Injury Documents to Bill, Add RFA Decision to Bill.
Step 3. Select ‘Report Type’
Step 4. Click ‘Add’
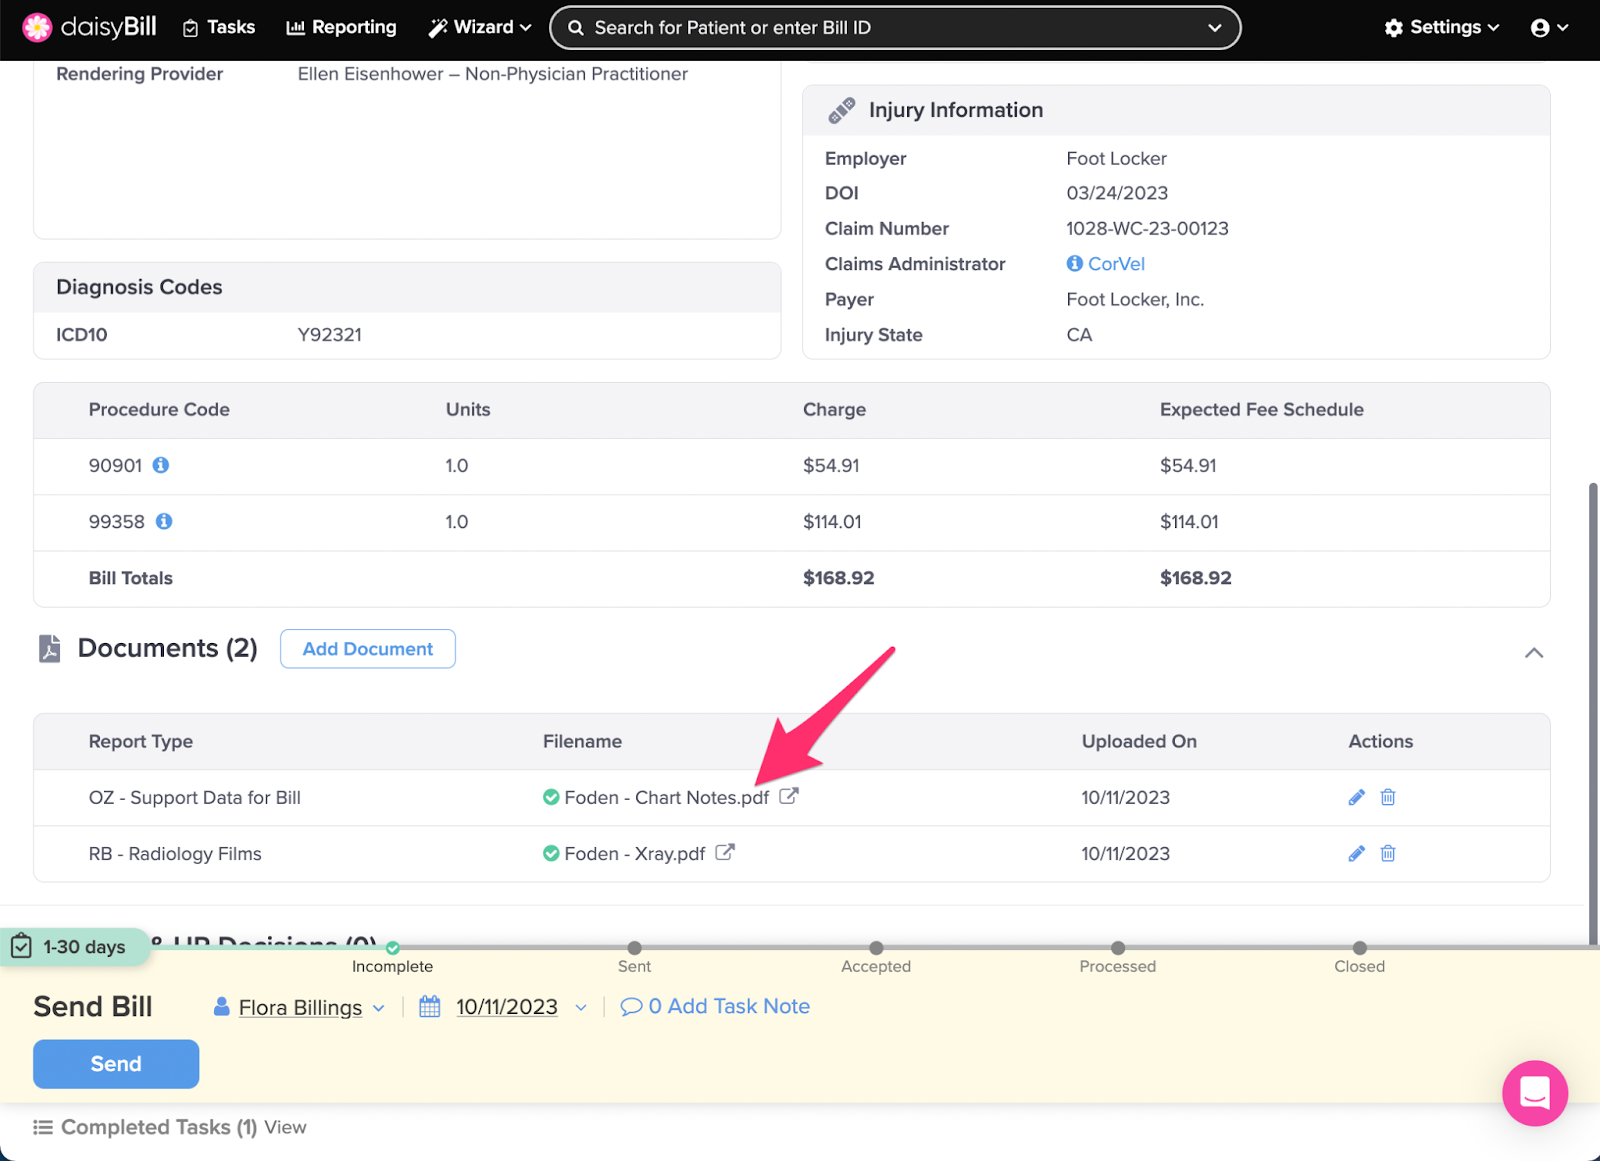
Step 5. To view an uploaded Document, click the Document name
The Document will open in a new tab.
Step 6. From the new tab, choose Rotate, Download, or Print
- To Rotate the document clockwise, click the Rotate icon
- To download as PDF, click the Download icon
- To print, click the Printer icon

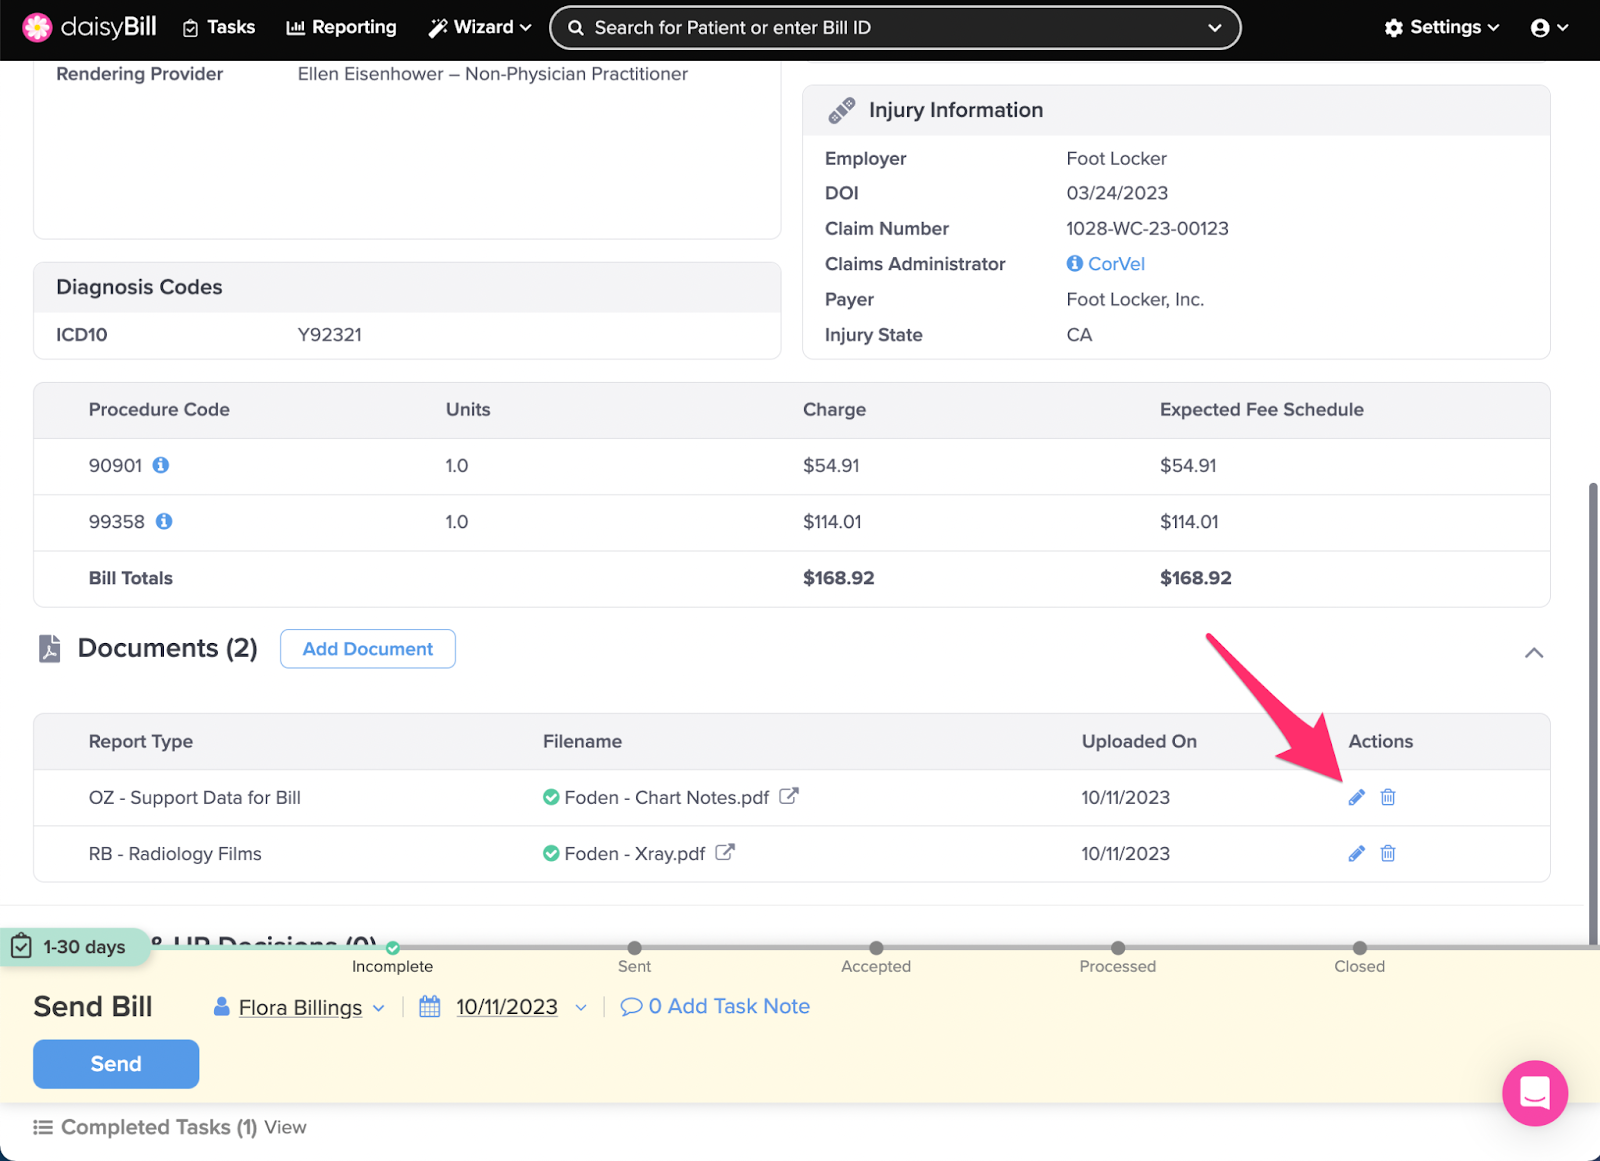
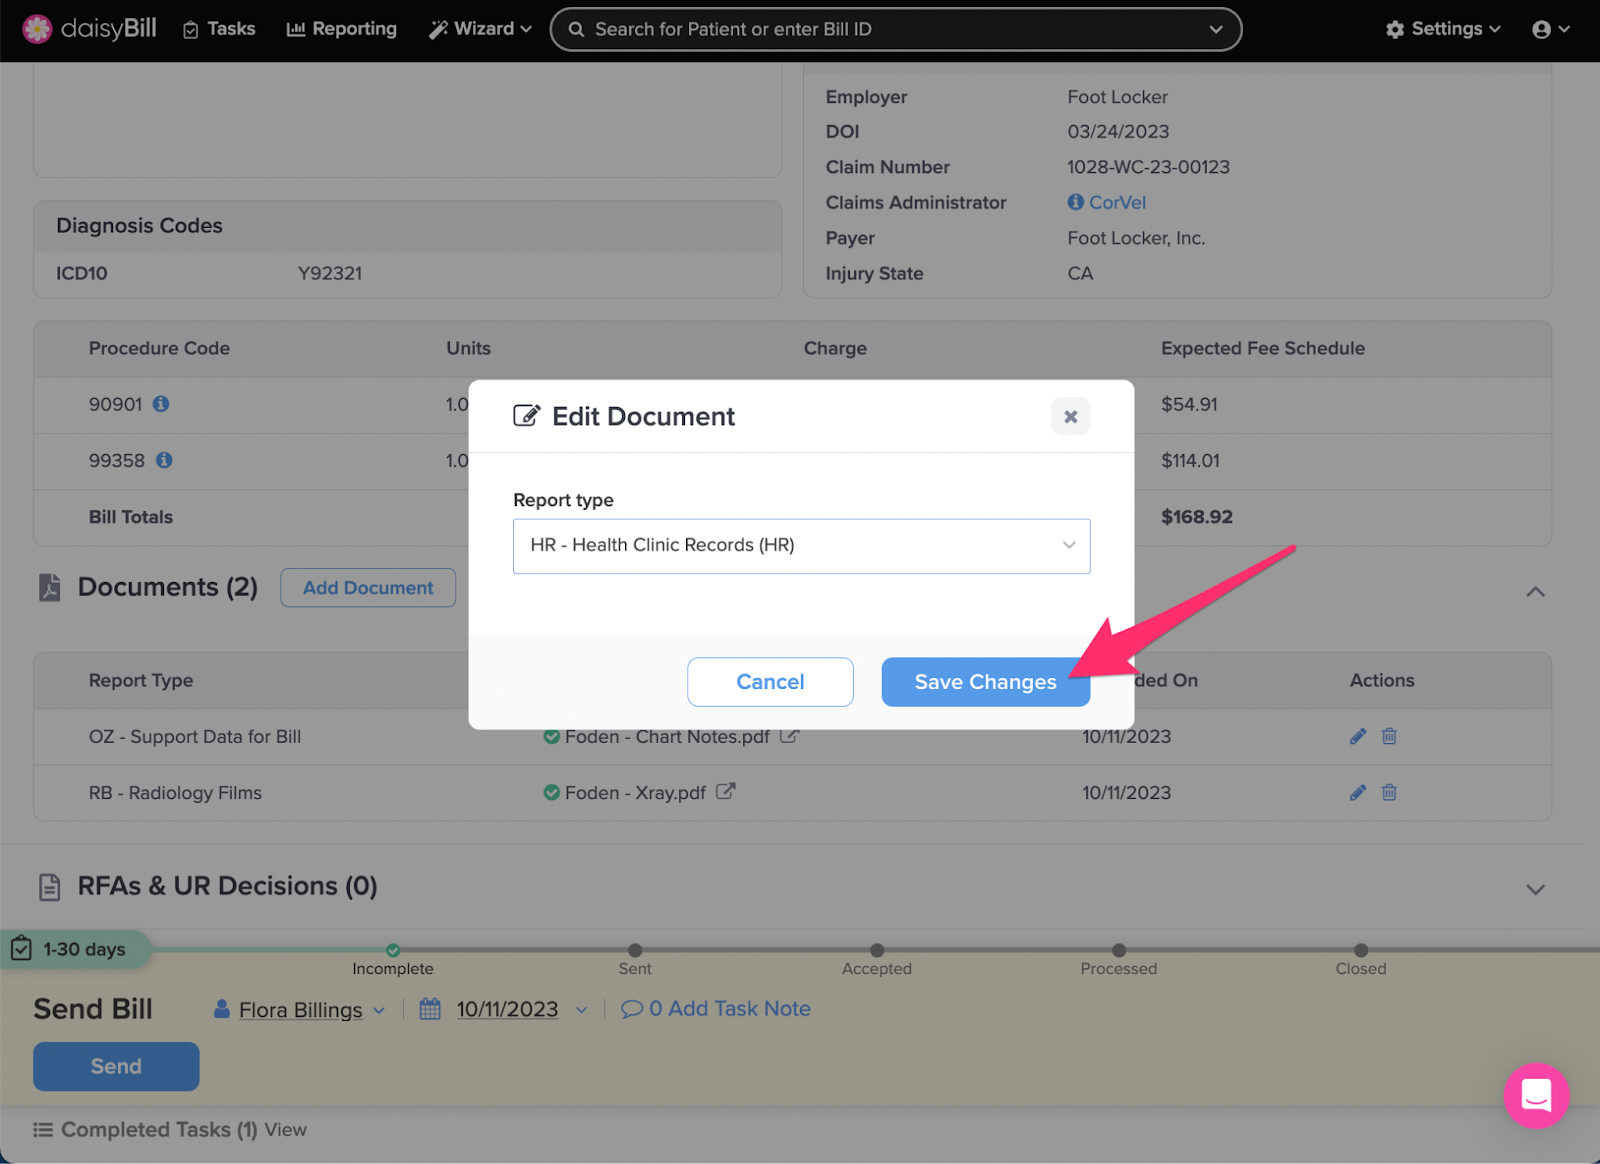
Step 7. To edit the ‘Report Type’ of an uploaded Document, click the ‘Pencil’ icon
Step 8. From the dropdown menu, select a ‘Report Type’
Step 9. Click ‘Save Changes’
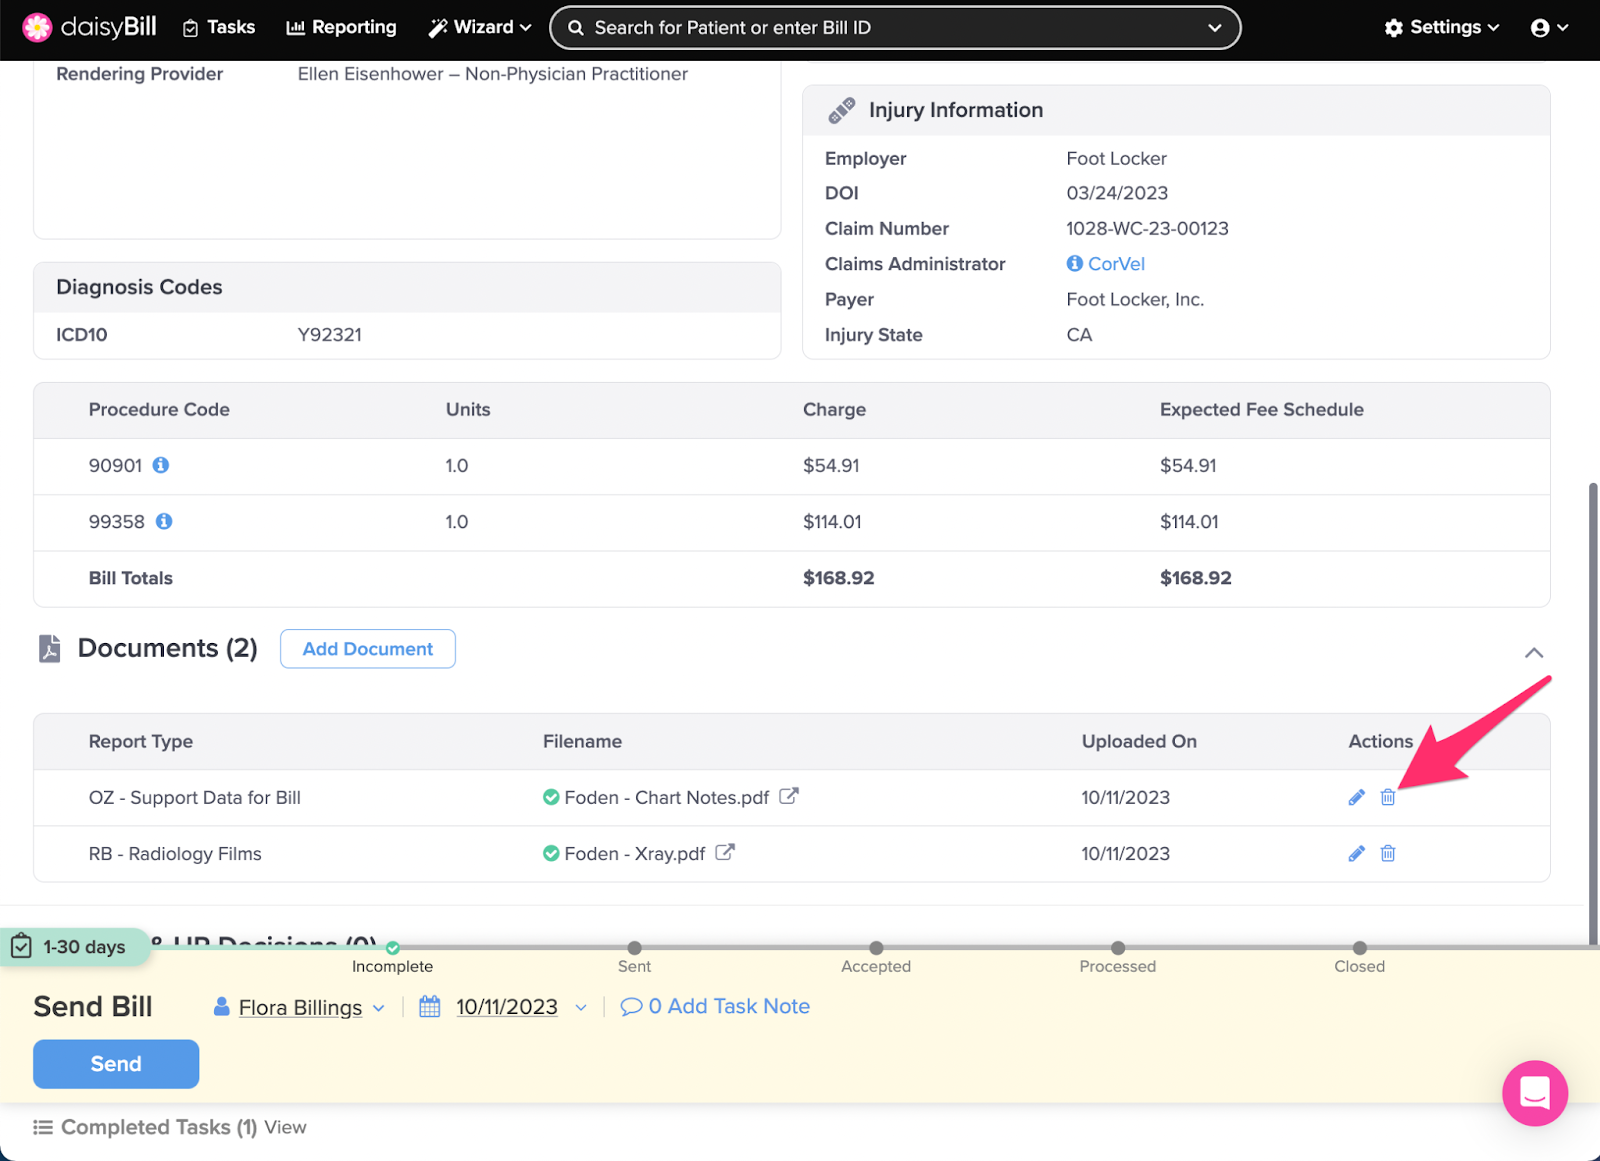
Step 10. To delete an uploaded Document, click the ‘Trash can’ icon
There, wasn’t that simple?